
How to Use Fluted Panels: The Texture Upgrade That Changes Every Room
What fluted panels are, where to use them, how to choose the right width and material, and how to finish them for a result that looks expensive.
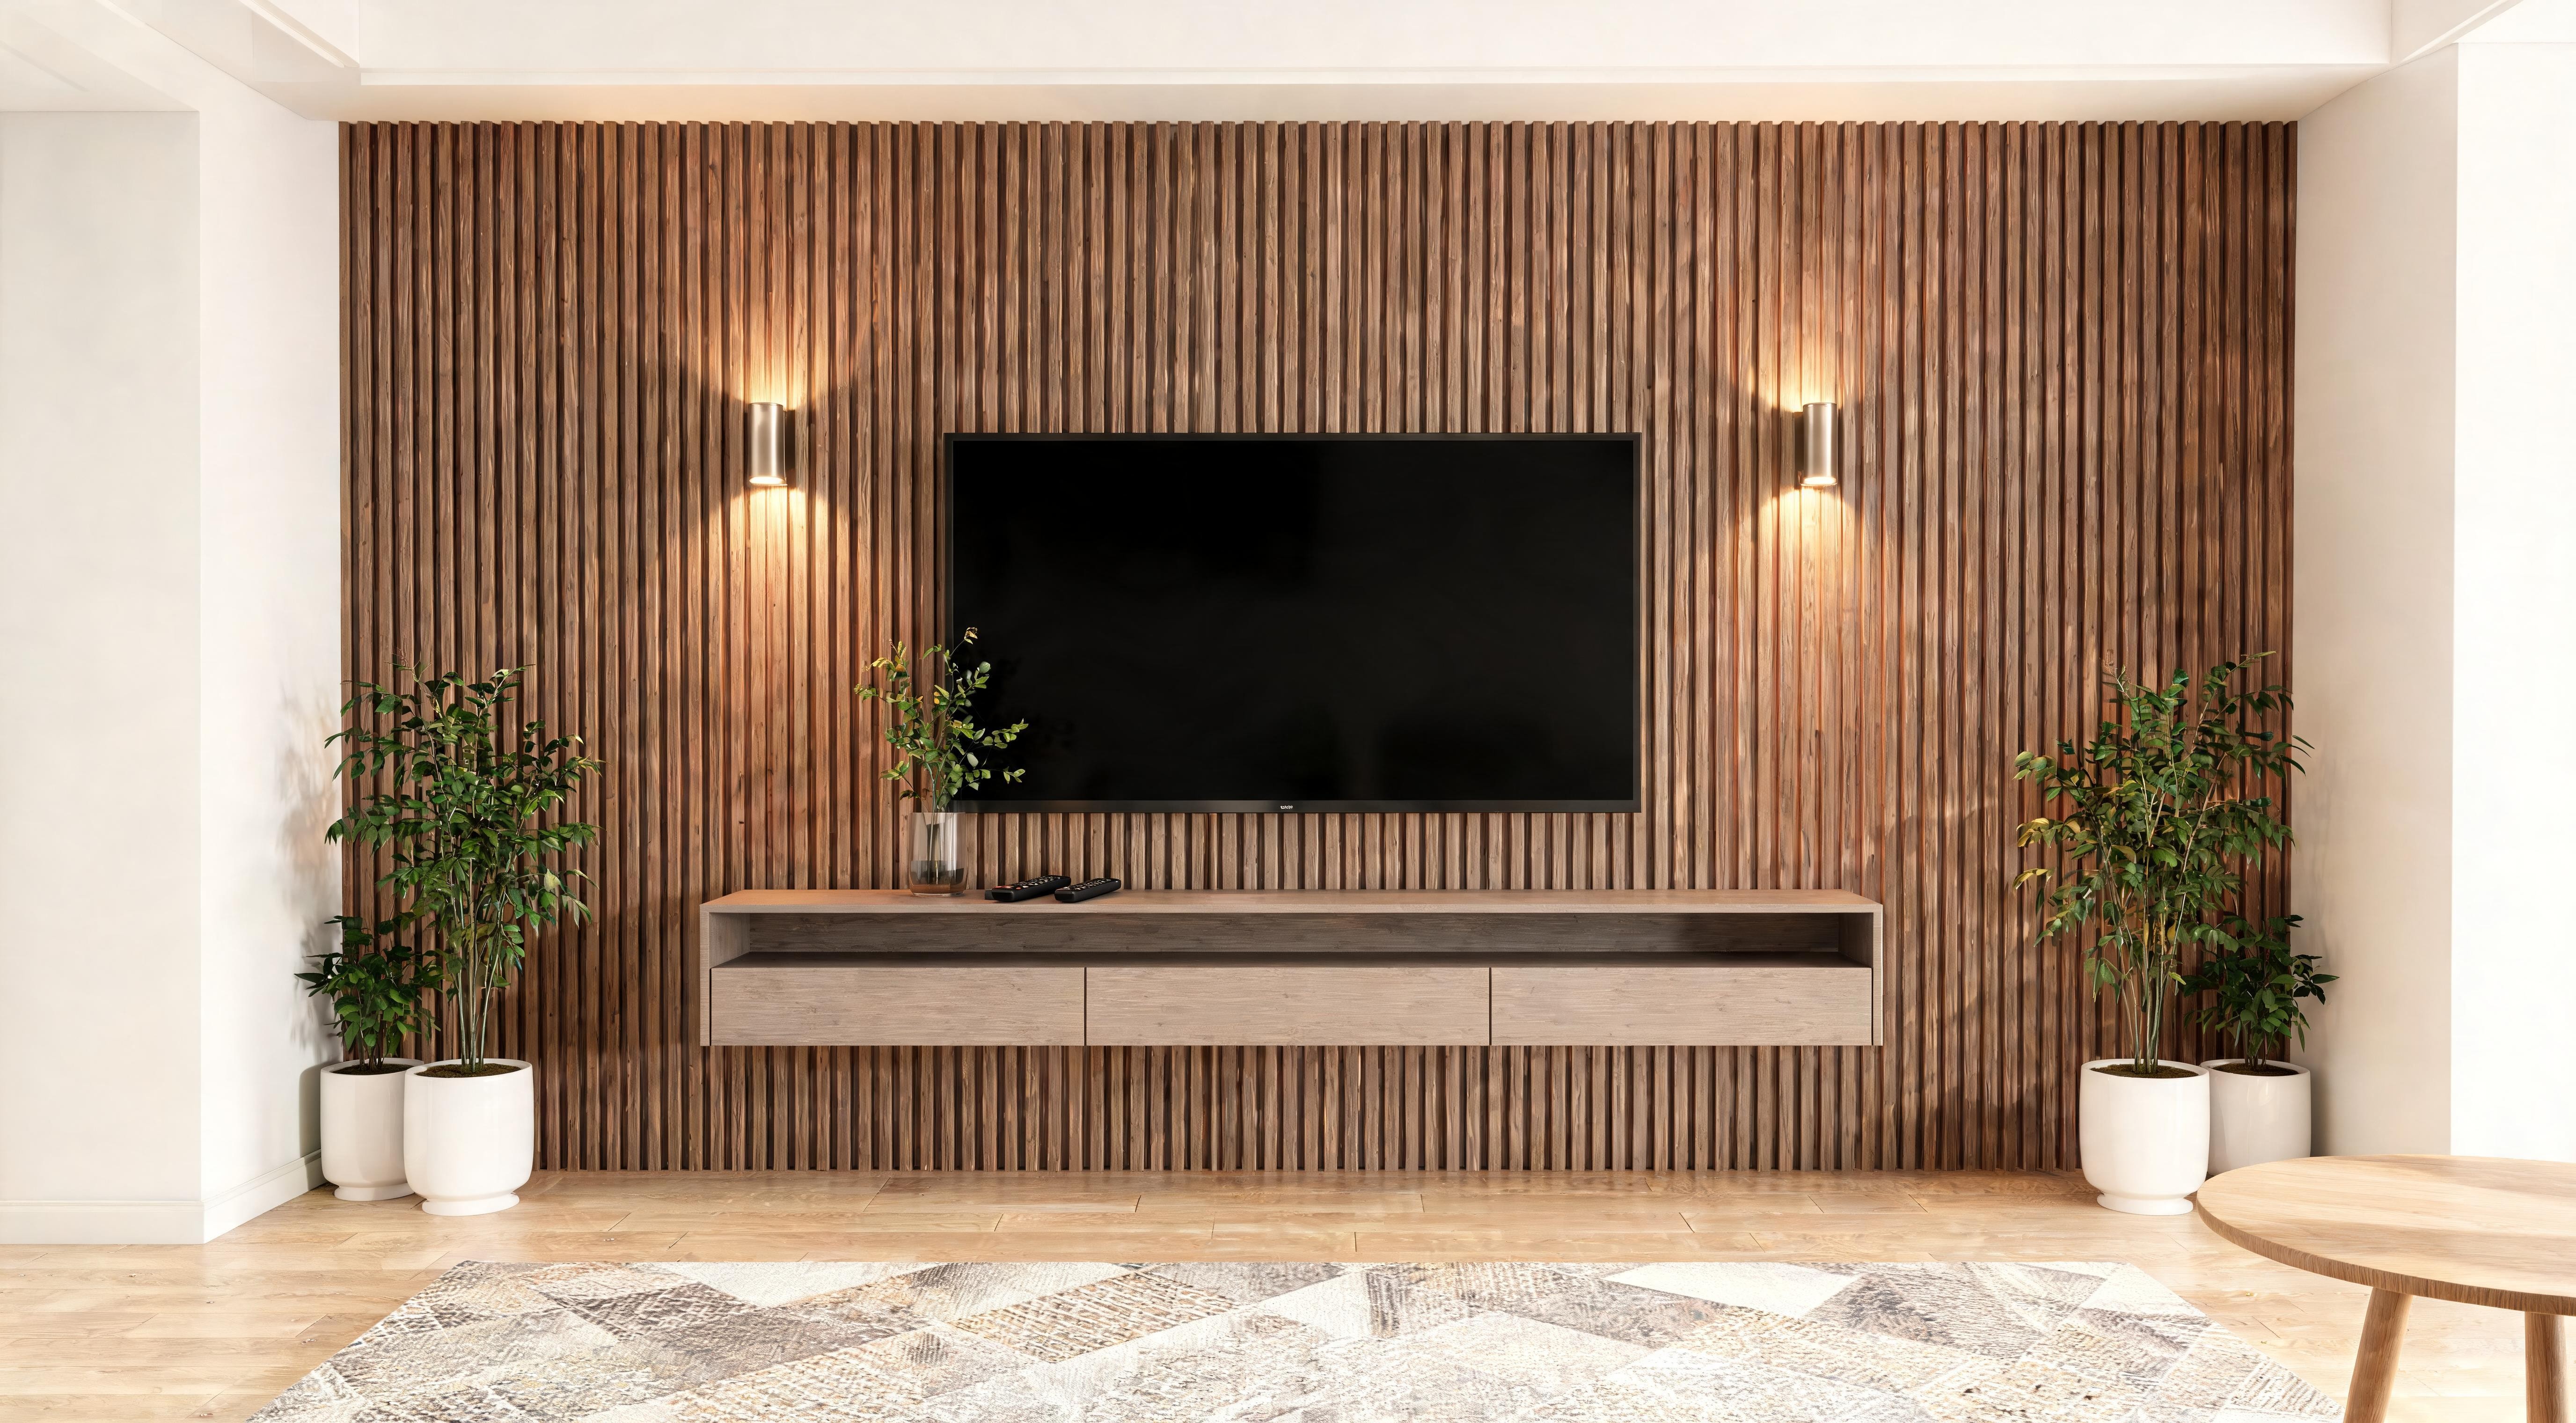
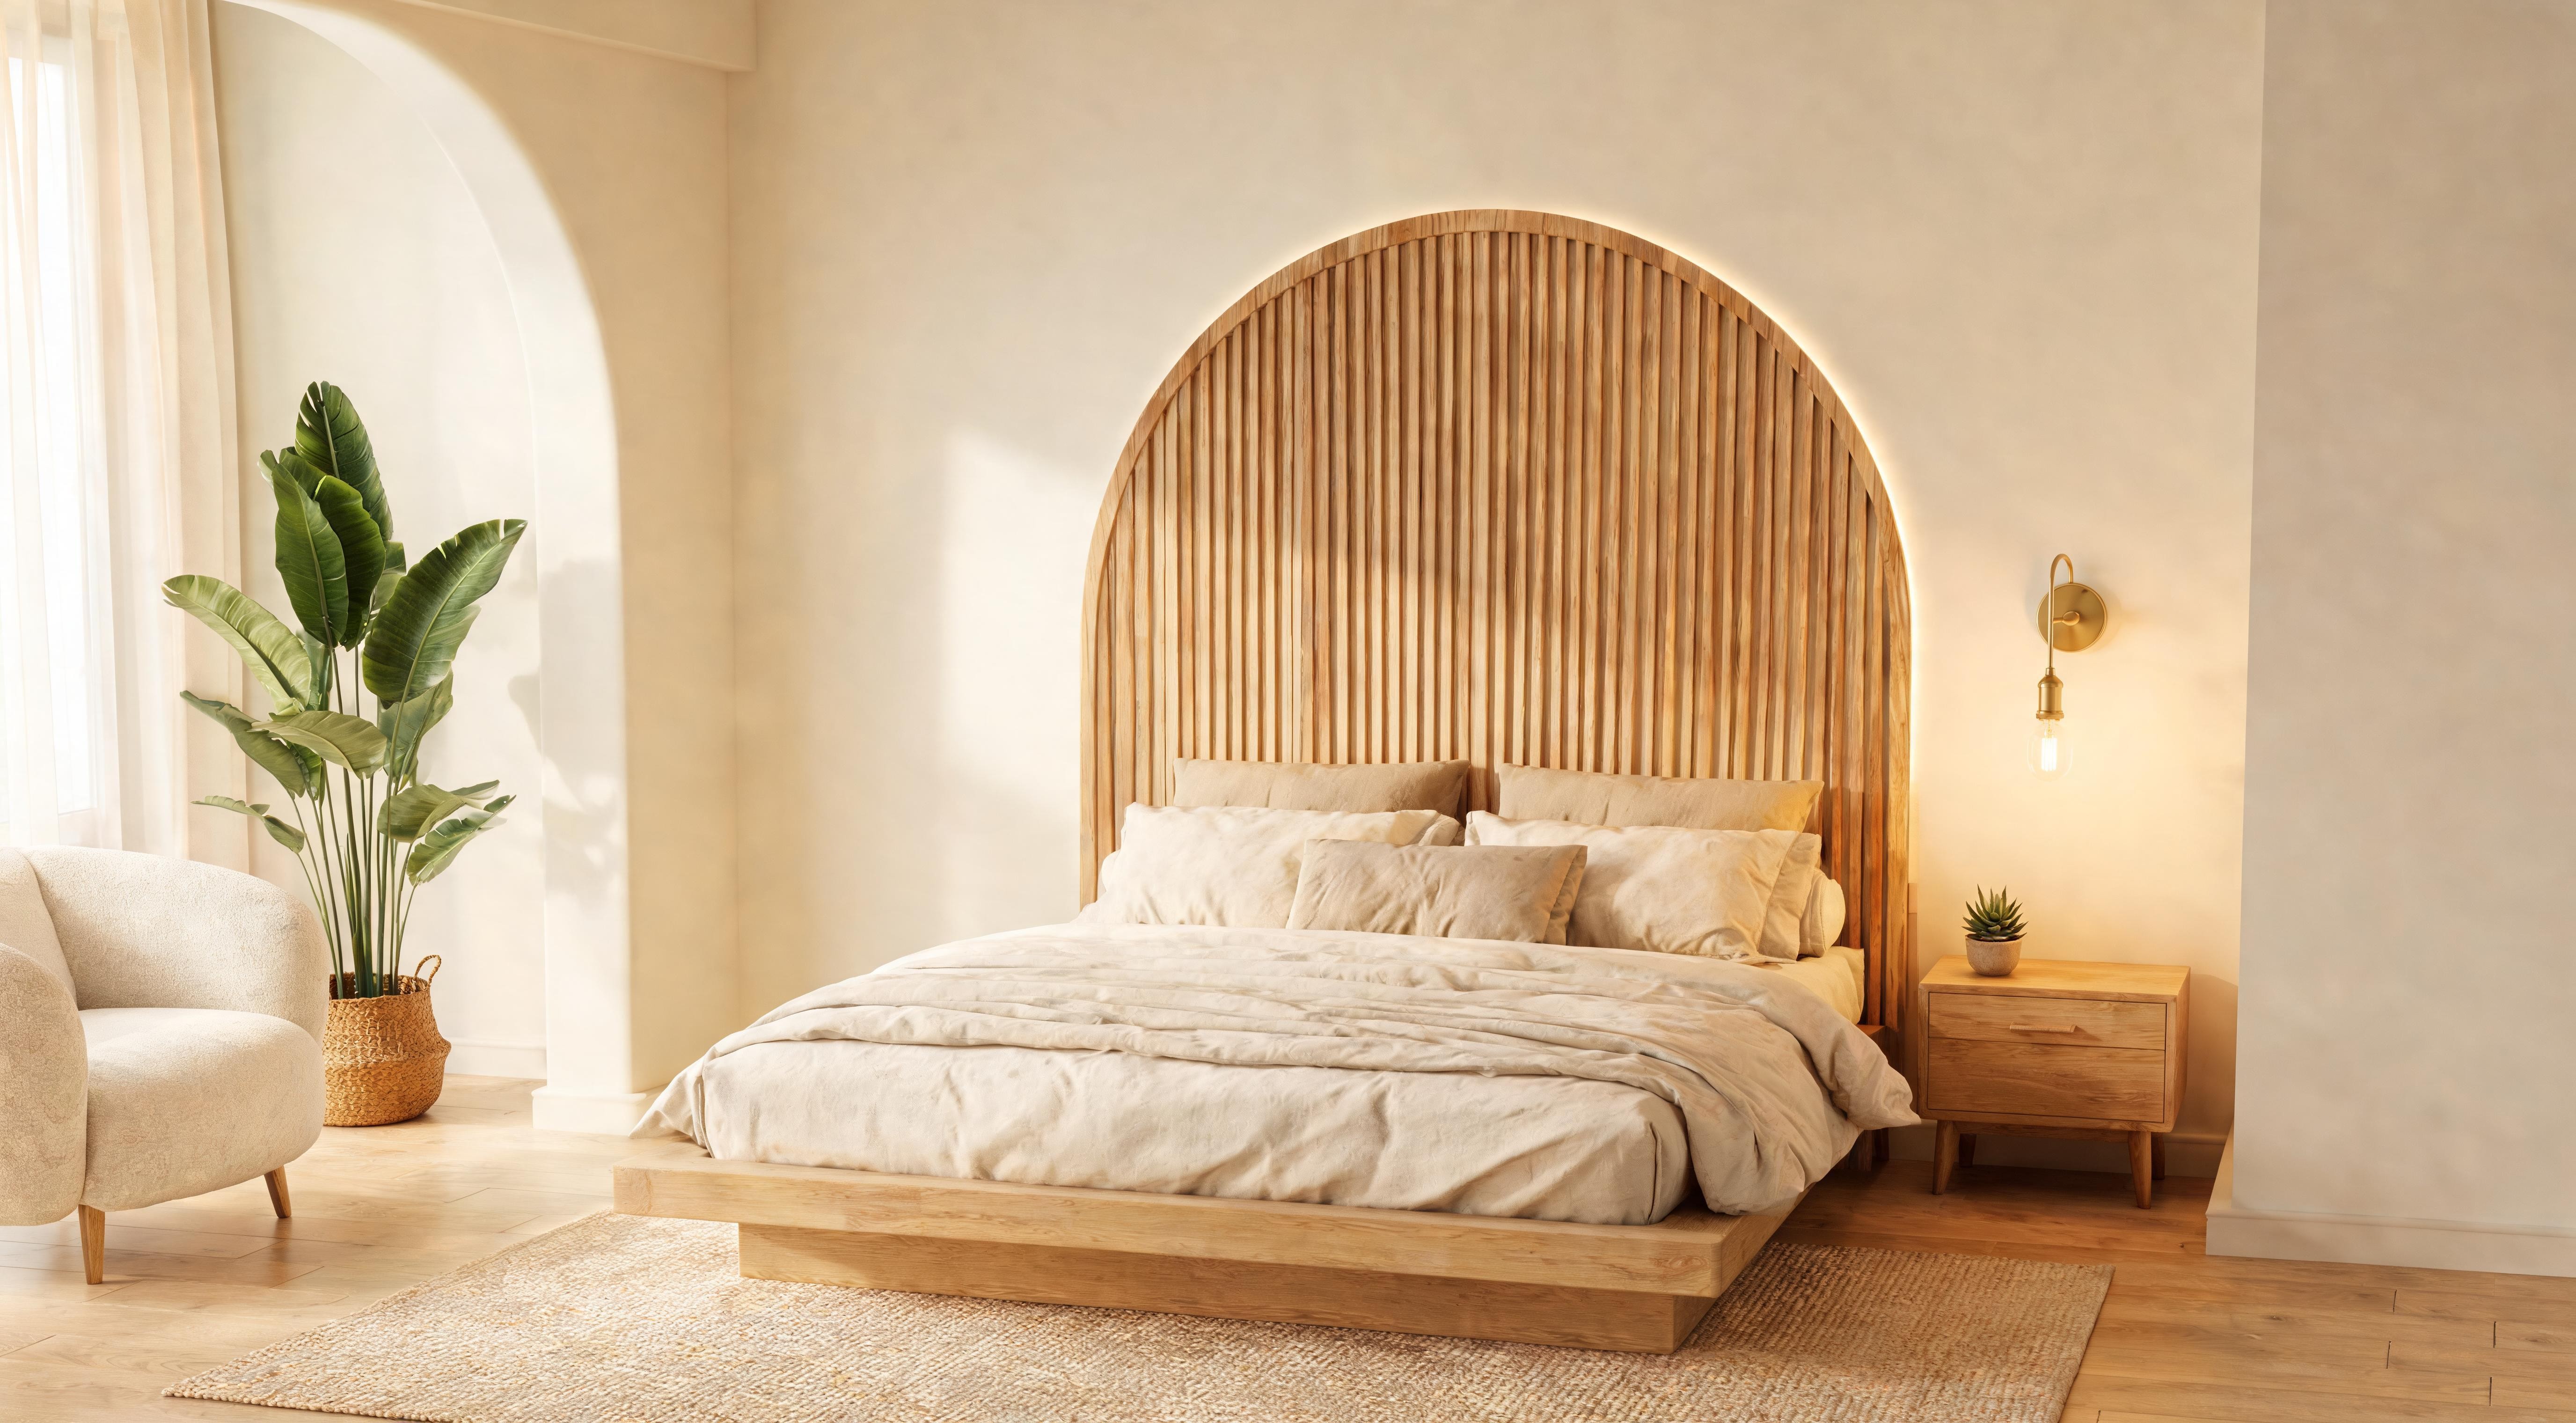
There is a particular quality of light in a room with fluted panels on the wall — a softly shifting shadow that moves through the day as the light source changes, that makes a flat painted surface look like it is breathing. The effect is not expensive to achieve. A sheet of ribbed MDF from a builders’ merchant, a tin of paint and a weekend afternoon is genuinely enough. What takes more thought is the decisions before the panels go up: where they go, how wide the ribs are, what material to use, what colour. Get those right and the result looks like it was designed. Get them wrong and it looks like a showroom sample that never quite resolved itself into a room.
What Fluted Panels Actually Are
A fluted panel is a flat sheet — most commonly MDF, though solid wood and PVC versions exist — with a series of parallel raised ribs running along its length. The ribs are typically between 30mm and 120mm wide. The grooves between them are shallower than they look in photographs: usually 4mm to 8mm deep. That shallow depth is enough to cast a distinct shadow line and give the surface a sculptural quality that a flat painted wall cannot achieve. The wider the rib, the bolder the shadow. The narrower the rib, the more refined and textile the effect.
The shape is not new. Fluting appears in classical Greek columns, Art Deco furniture and mid-century Scandinavian interiors. What changed in the last few years is the availability of pre-made ribbed MDF panels in sheet form, sold by the metre and ready to paint — which brought a material that once required a joiner’s workshop within reach of a Sunday afternoon.
Where to Use Them
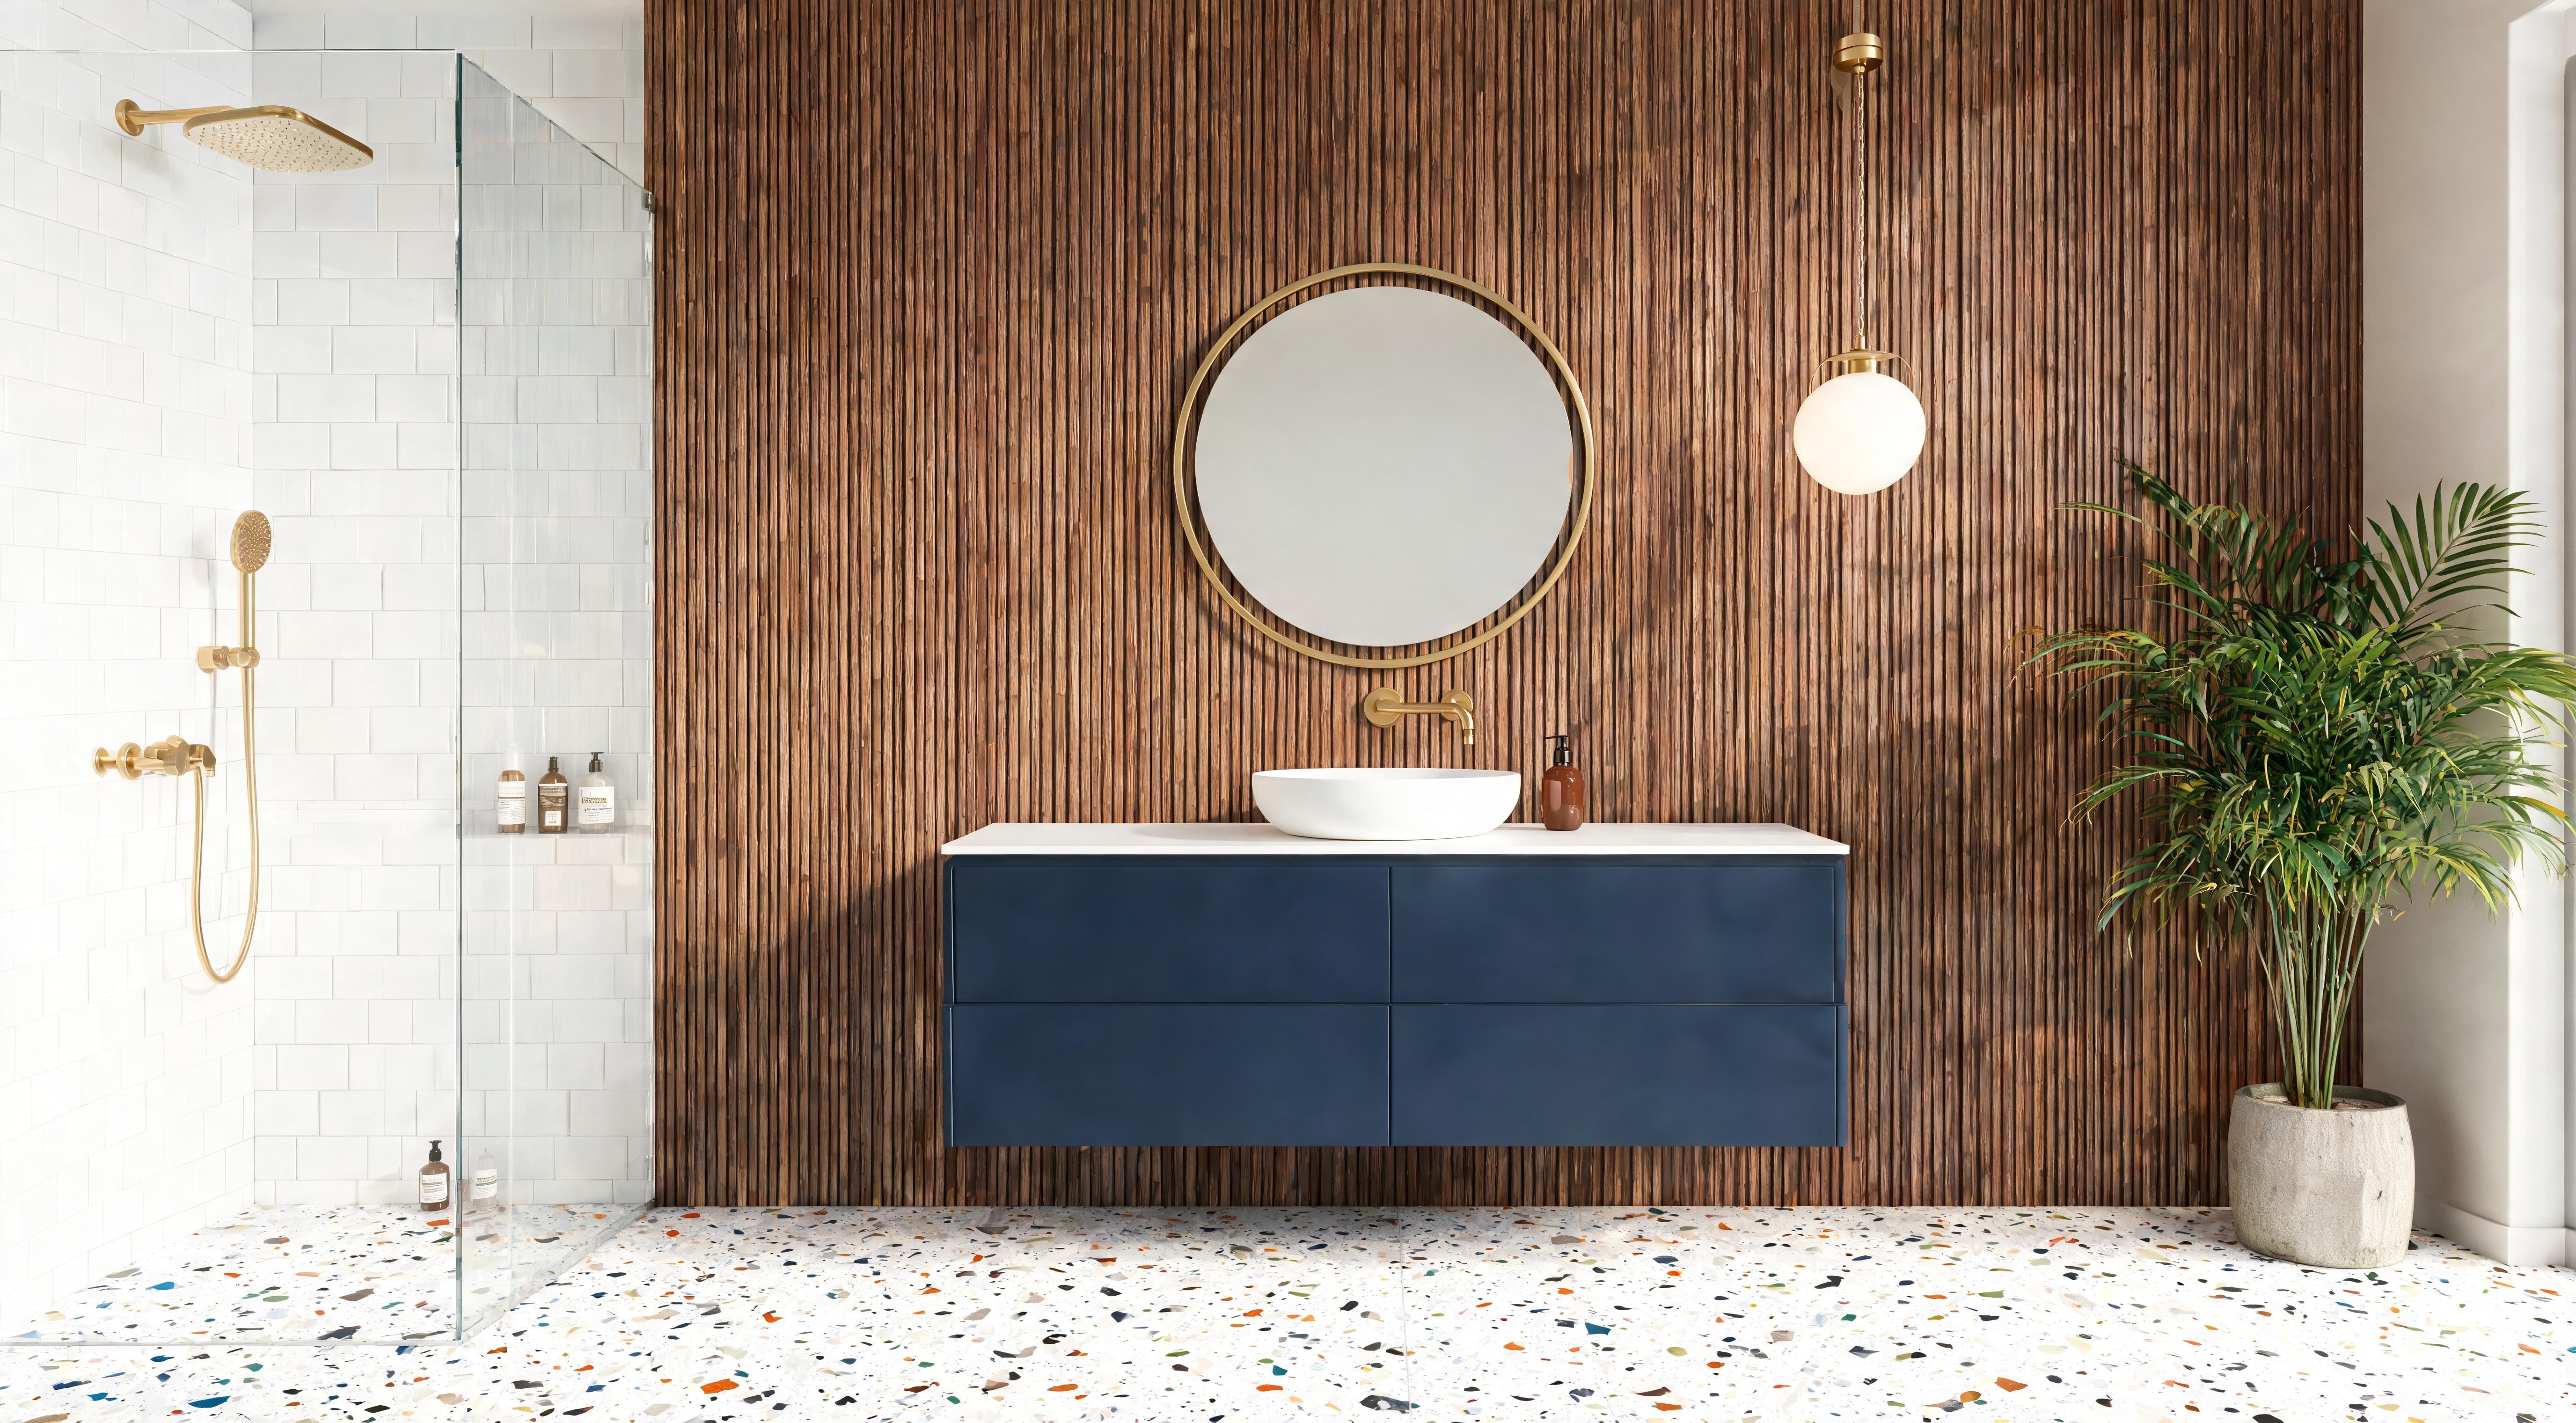
The mistake most people make is asking whether they can use fluted panels in a room. The better question is where in that room they belong. Fluted panels work almost anywhere — but they work best when they are given one focused surface to occupy rather than spreading across every wall.
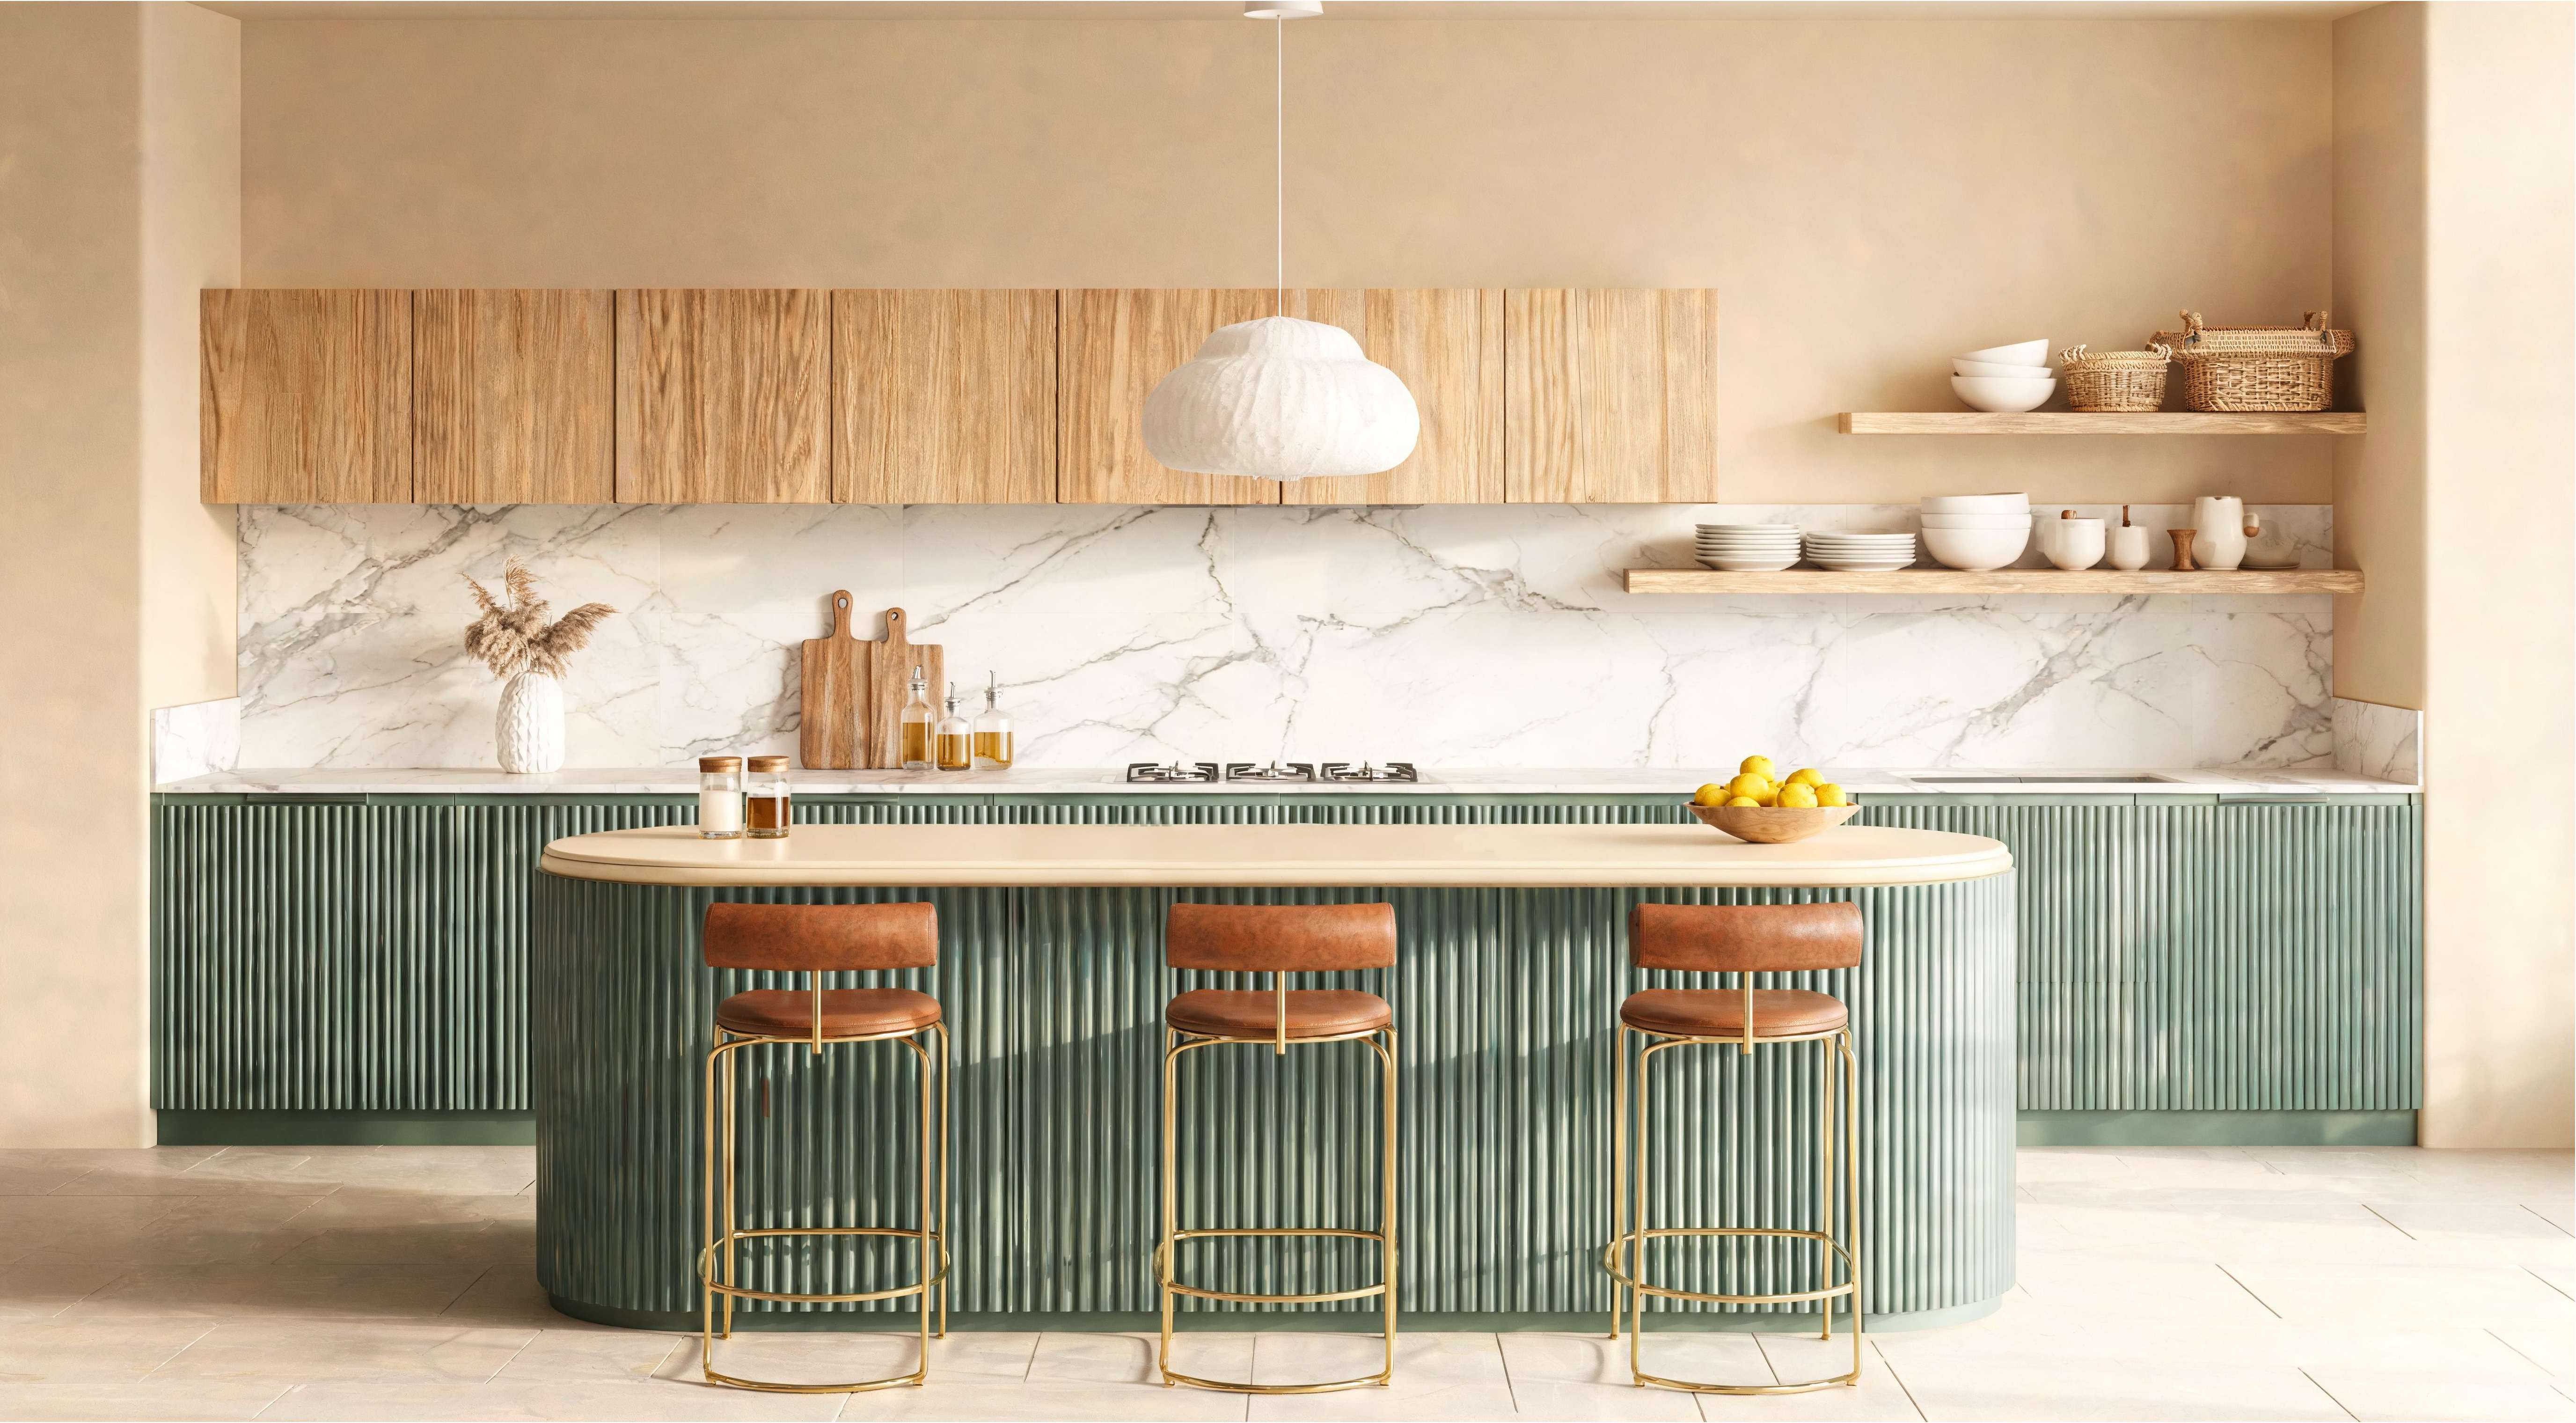
The kitchen island application deserves particular attention. A standard kitchen island with flat MDF or shaker-style cabinet fronts looks like a piece of flat-pack furniture placed in the room. The same island clad on its visible sides with vertical fluted panels — painted in a contrasting colour to the main kitchen units — reads as a piece of bespoke joinery. The ribbed surface catches light from different angles throughout the day and the grooves create shadow lines that visually anchor the island as a designed object rather than added storage.

Choosing the Right Panel Width
The width of the individual ribs changes the entire character of the finished wall. This is the most under-considered decision in most fluted panel projects and the one with the most visible consequence.
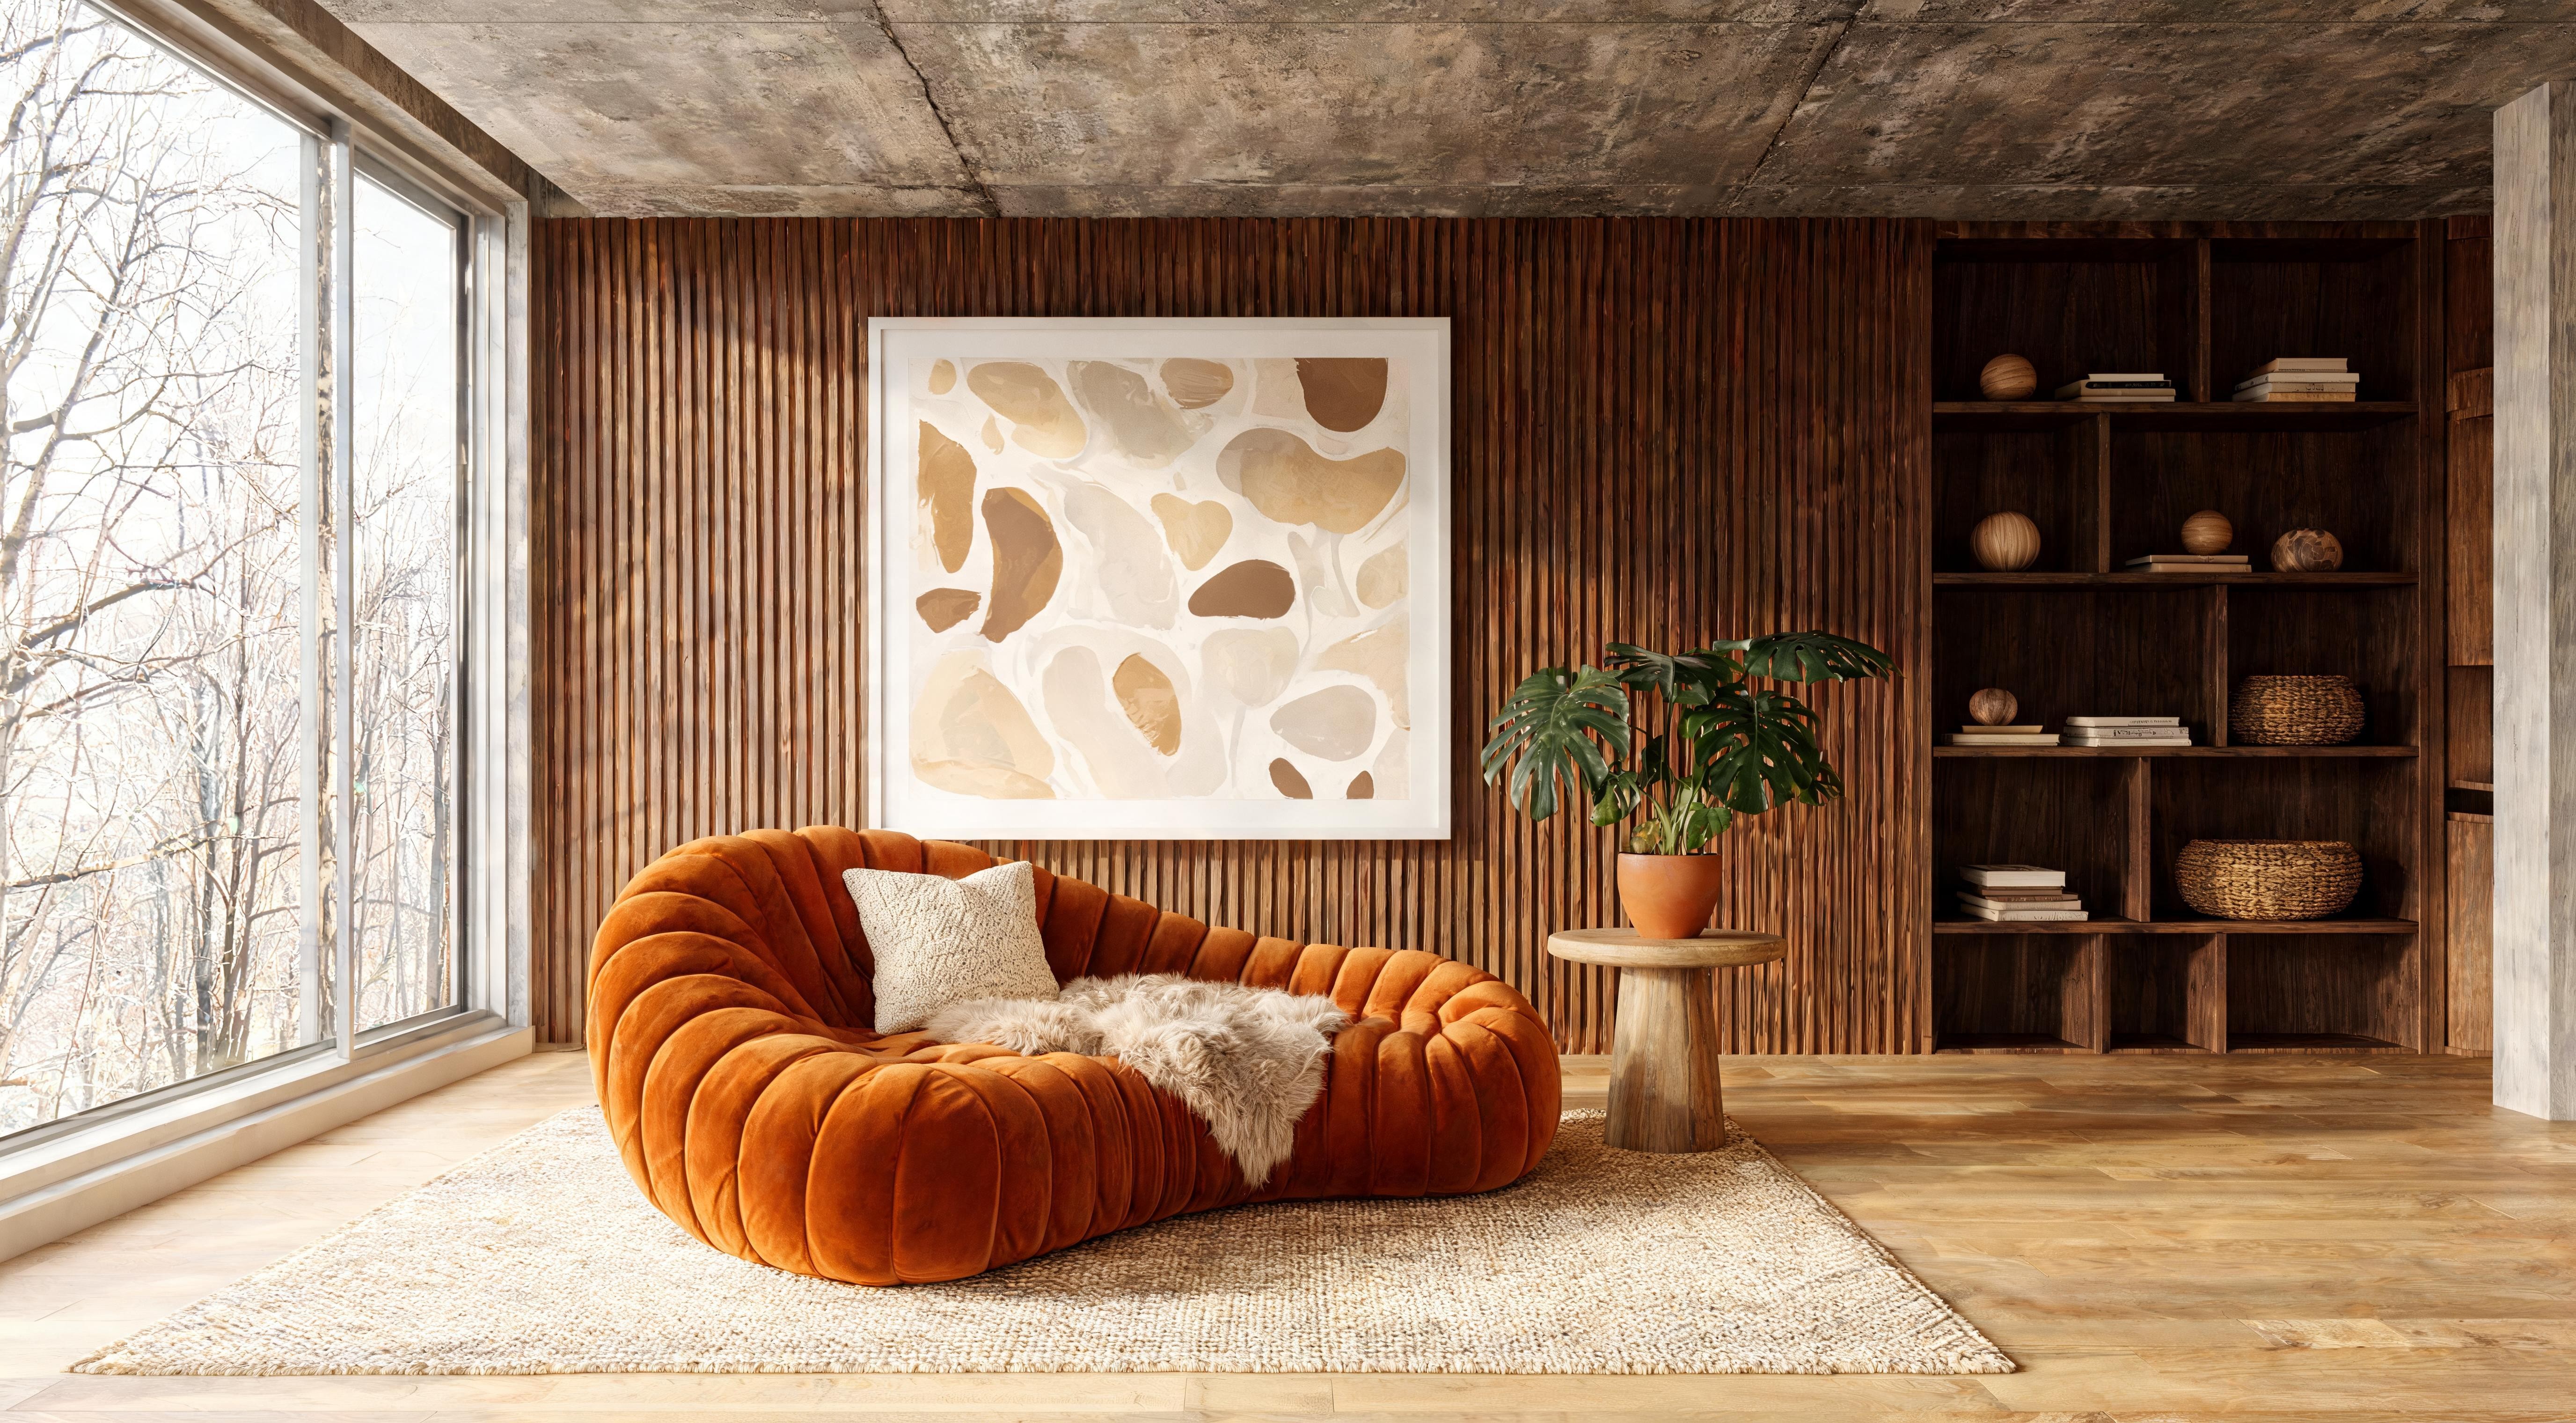
As a general rule, the smaller the room the narrower the rib. A 40mm rib in a standard bedroom feels considered and refined. The same 40mm rib in a large open-plan living space reads as fussy. Conversely, a 100mm rib on a generous wall with a high ceiling looks architectural and deliberate — on a small bathroom wall it fills the space too aggressively. Hold a sample panel against the actual wall before ordering. The width that looks right in a showroom or on a screen is rarely the width that feels right in the space.
Material Options
MDF is where most people should start. It is the most widely available, the cheapest, the easiest to cut and the most consistent to paint — the surface is smoother than solid wood and takes a flawless eggshell or satin finish when properly primed. The key word is properly. MDF is extremely absorbent and will drink paint unevenly if applied directly over bare board. Two coats of MDF primer before any colour goes on is not optional. Skip the primer step and the paint will be patchy across the groove edges and the flat rib faces in a way that is very difficult to correct after the fact.
Solid wood fluted panels — usually pine, oak, or tulipwood — are the premium option. They have a weight and warmth that MDF cannot replicate, the shadow lines are slightly crisper because the edges are harder, and they can be finished with an oil or stain rather than paint for a natural-wood look. The trade-off is cost and workability: solid wood panels are heavier, more expensive and more sensitive to the ambient humidity of the room. They are an excellent choice where you want the tactile quality of real timber and have the budget to match.
Installation in Practice
The installation process for fluted MDF panels is genuinely accessible to anyone with basic DIY confidence. The most important part happens before the first panel goes up: the wall needs to be flat, sound and clean. Any bumps or hollow spots in the plaster will telegraph through the panel once it is adhered — a panel that is not sitting flush against the wall will rock slightly and the adhesive will eventually fail at the unsupported points.
The fixing method is construction adhesive plus pin nails. Run a zigzag of panel adhesive across the back of each panel, press it firmly to the wall, and pin it top and bottom with a finish nailer or panel pins. The adhesive does the long-term structural work; the pins hold the panel in place while the adhesive cures. Leave a consistent gap at the floor — covered later with a skirting or Scotia mould — and butt the panels tightly against each other along the vertical seams. Use a spirit level on every panel. A single panel that is even slightly off-vertical makes every subsequent panel worse.
Fill any pin holes and the seams between panels with a fine surface filler. When the filler is dry, sand back lightly. Two coats of primer. Then your colour. The final finish — the point at which the panels stop looking like construction material and start looking like a designed wall — only arrives after the second coat of topcoat. Most people check after the first coat and panic. It will look patchy and the grooves will look uneven. This is normal. The second coat resolves it.
Watch out for
Painting the grooves with a roller alone. A roller cannot fully reach into the groove depth and the shadow line will be noticeably lighter than the rib faces. Use a small 25mm brush to cut the grooves in first, then follow with a roller across the flat faces. It takes longer but the finish is the difference between a professional result and a visible DIY one.
The Colour Decision
There are three fundamentally different approaches to colouring fluted panels and they produce very different rooms.
Of the three, colour-drenching is the one most worth committing to. It requires the most confidence — painting the ceiling the same colour as the walls always feels like too much until it is done — but it is consistently the approach that makes a room look like it was designed rather than decorated. The shadow play in the panels has nowhere to hide when everything is the same tone, which sounds counterintuitive. In practice it makes the texture more visible, not less.
What Kills the Effect
The most common way fluted panels fail is overuse. A single panelled wall in a room gives the texture a surface to occupy and a plain wall to contrast against. Two panelled walls compete with each other. Three panelled walls are a tunnel. Pick one surface — the one that matters most — and give it the full treatment. The other walls stay plain, and the plain walls make the panelled one look better by comparison.
Watch out for
Mixing fluted panels with other strongly textured surfaces in the same room. Ribbed panels alongside heavily veined stone, large-format patterned tile or highly textured wallpaper create visual noise rather than layered interest. Fluted panels work because they are the texture in the room — not one of several competing for attention.
Scale is the other failure point. Panel rib width and room size need to relate to each other — not because there is a strict formula, but because the shadow pattern that gives the panels their character needs room to breathe. A very narrow 30mm rib in a large open-plan space becomes a texture that reads as wallpaper from a distance rather than architecture. A 100mm rib in a 2.4m-wide hallway makes the corridor feel compressed. The width guide above is a starting point. A physical sample held against the actual wall at the actual scale of the room is the only thing that confirms it.
Fluted panels are one of the few things in interiors that cost very little and look like they cost a great deal — but only when the decisions before installation are made carefully. The width, the material, the location, the colour approach: these are the design decisions. The installation itself is a weekend. Spend the time on the decisions first and the weekend work will feel obvious.