
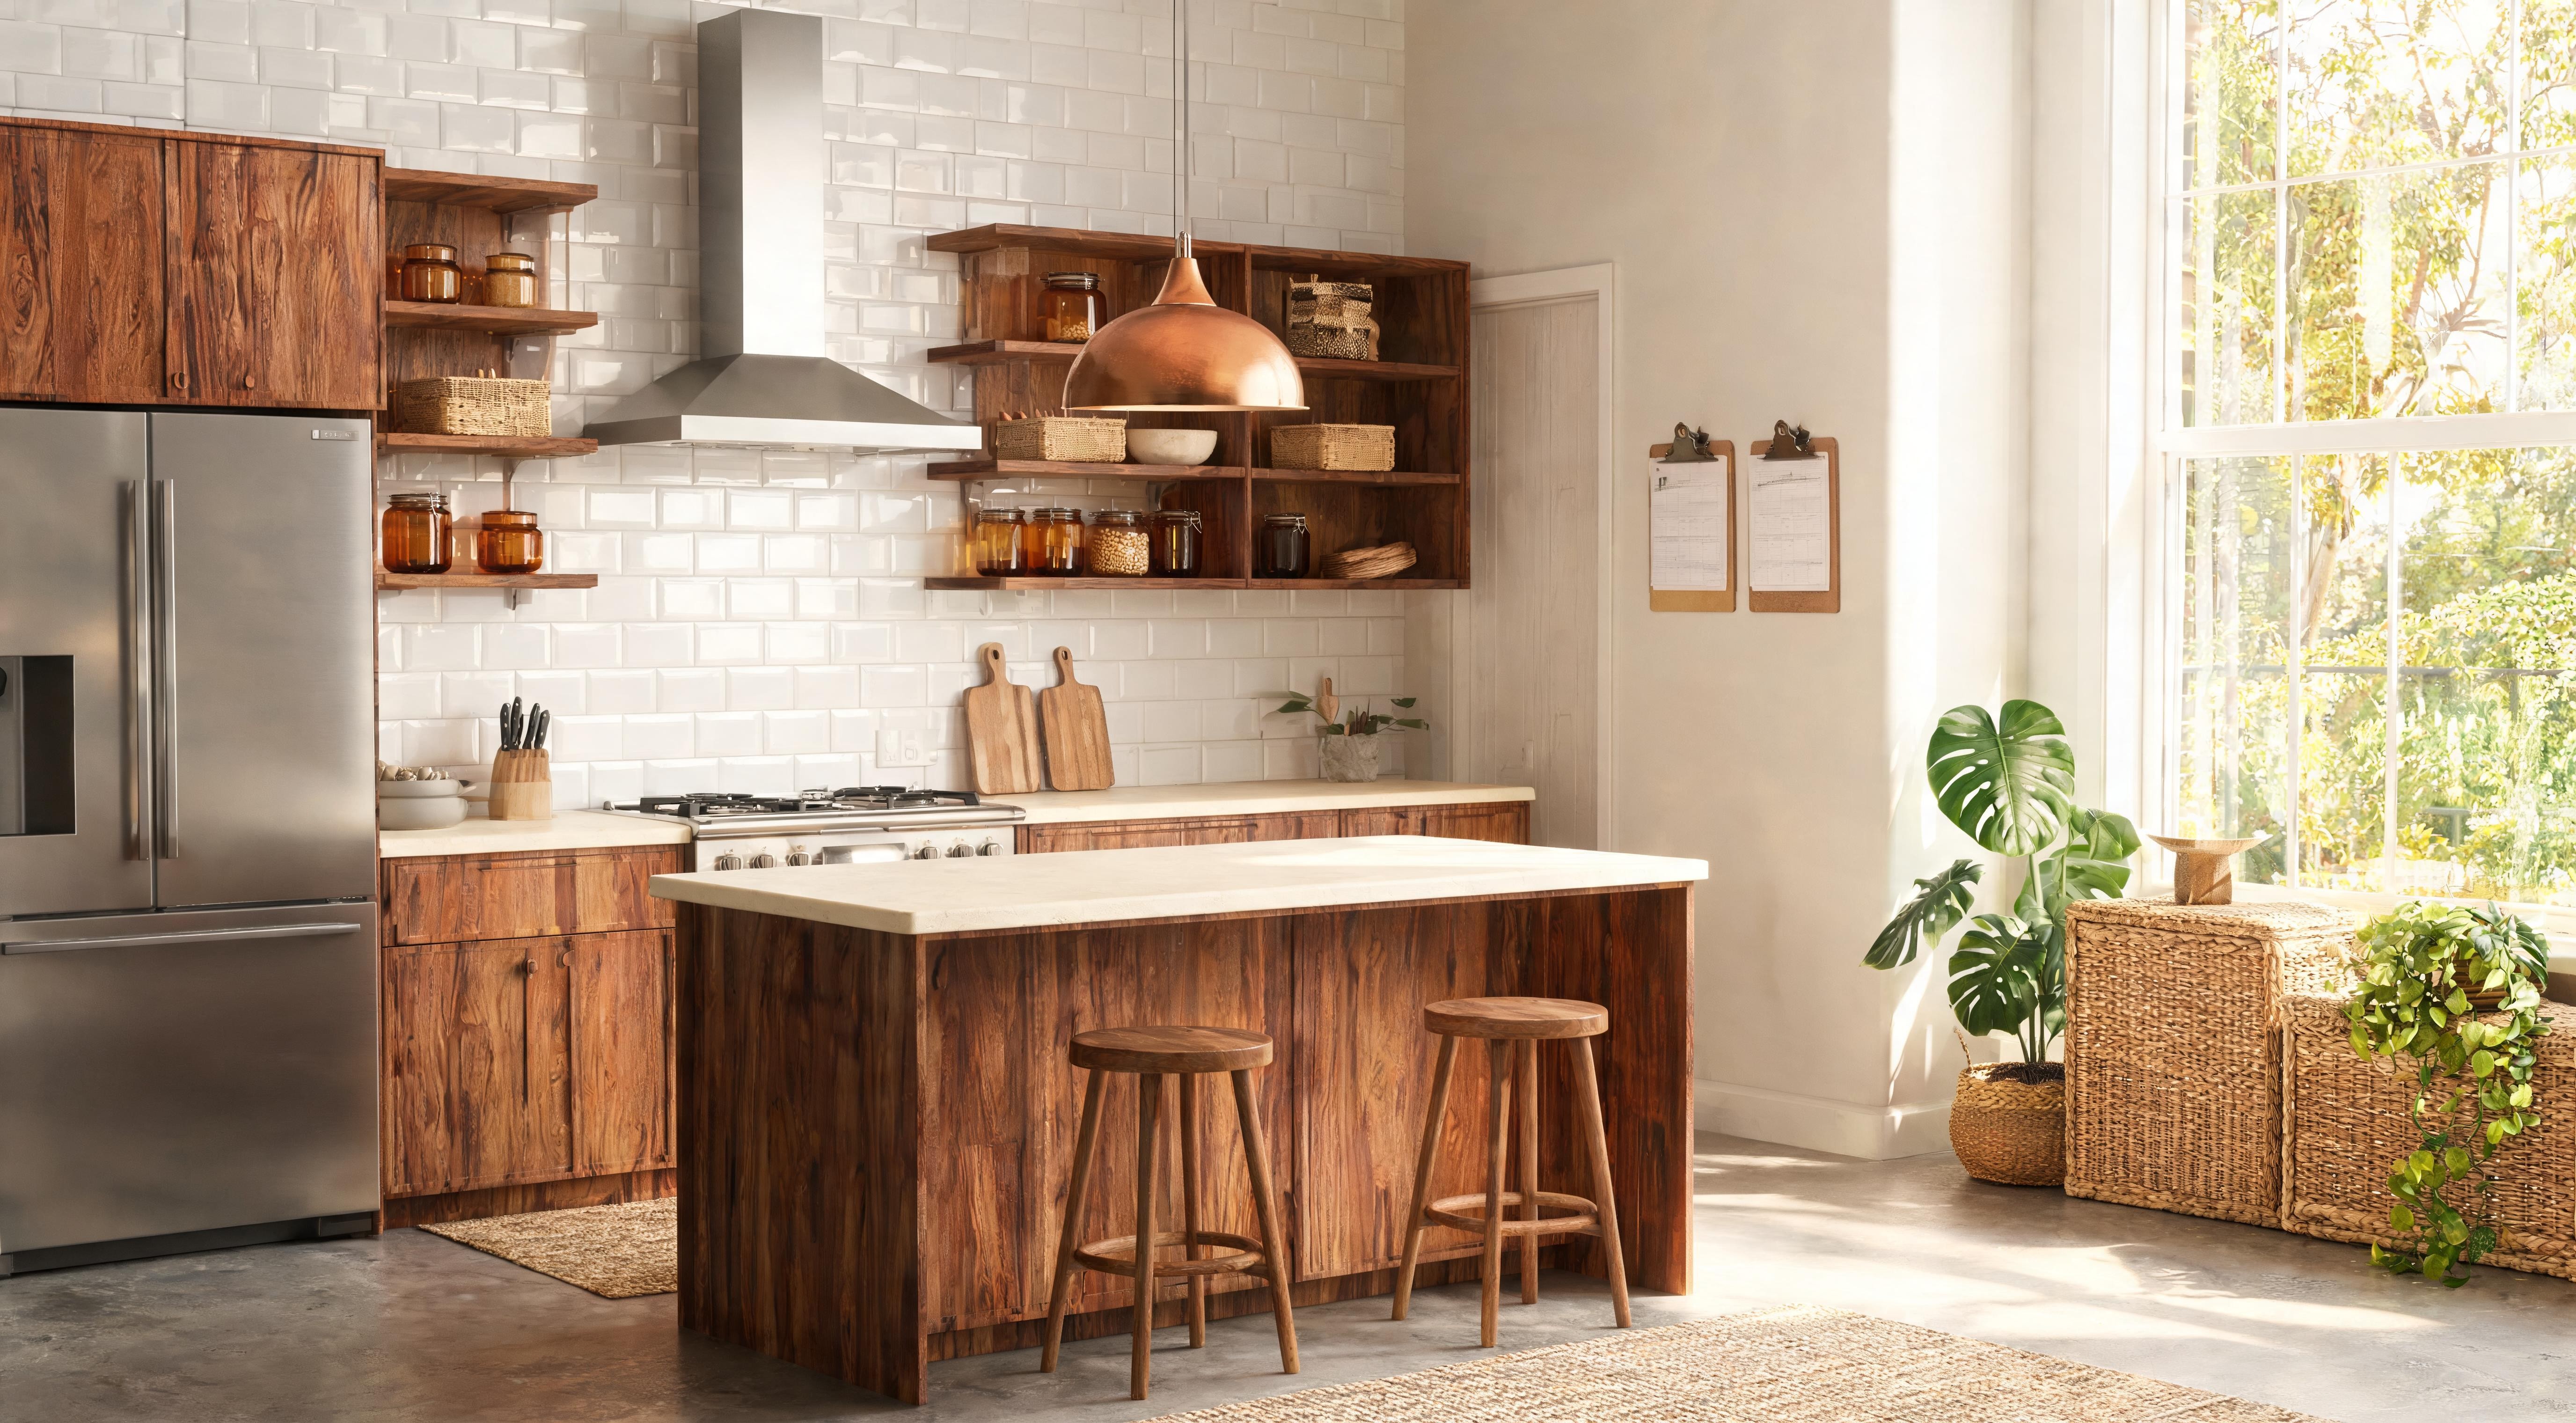
The Kitchen Island Guide: Sizing, Seating, Storage and the Contrasting Colour Moment
Freestanding vs built-in, clearance rules, overhang dimensions for seating, storage options and the contrasting island colour combinations working hardest in UK kitchens.
The kitchen island is the most transformative single element in a kitchen — and the most frequently done badly. Too small for the room, too close to the run of units, the wrong height for seating, the same colour as everything around it. An island that is correctly sized, correctly positioned, correctly specified and treated as a design object rather than just additional storage changes the way a kitchen works and the way it looks every day. This guide covers every decision in the right order.
Freestanding vs Built-In: The First Decision
The first question in any kitchen island is whether it needs to be permanent. A freestanding island — on legs or castors, not fixed to the floor or plumbed in — gives you flexibility a built-in island cannot. You can move it for parties, take it with you when you move, and reposition it if the kitchen’s use evolves. The trade-off is structural: a freestanding island cannot house a hob or a sink, cannot carry the mechanical weight of full-height integrated storage, and does not achieve the architectural quality of an island that is built as part of the kitchen.
A built-in island is a permanent architectural element. It commands more planning, more budget and more commitment — and delivers more in return: flush integrated storage, a hob with a downdraft extractor, a prep sink, full-height drawers and doors with internal organisation. The built-in island is a piece of furniture that also functions as an appliance. The freestanding island is a piece of furniture that functions as additional work surface.
The decision between the two is usually settled by one question: are you staying? A built-in island in a home you are planning to leave in two years adds cost that is unlikely to be fully recovered. A well-chosen freestanding island in the same home is a practical solution that travels with you.
Getting the Size Right
The most common island mistake is one that is too large for the kitchen. An island without adequate clearance on all sides does not function — people cannot move around it comfortably, appliance doors cannot open fully, and the kitchen feels congested rather than well-equipped.
Before committing to any island size, tape out the footprint on the kitchen floor and live with it for a full day. Walk around it. Open the oven door with the tape in place. Imagine two people preparing food simultaneously. The tape test is consistently more informative than any floor plan — the visual on paper and the physical reality of moving around a space are very different experiences.
Overhang for Seating: The Numbers Most People Get Wrong
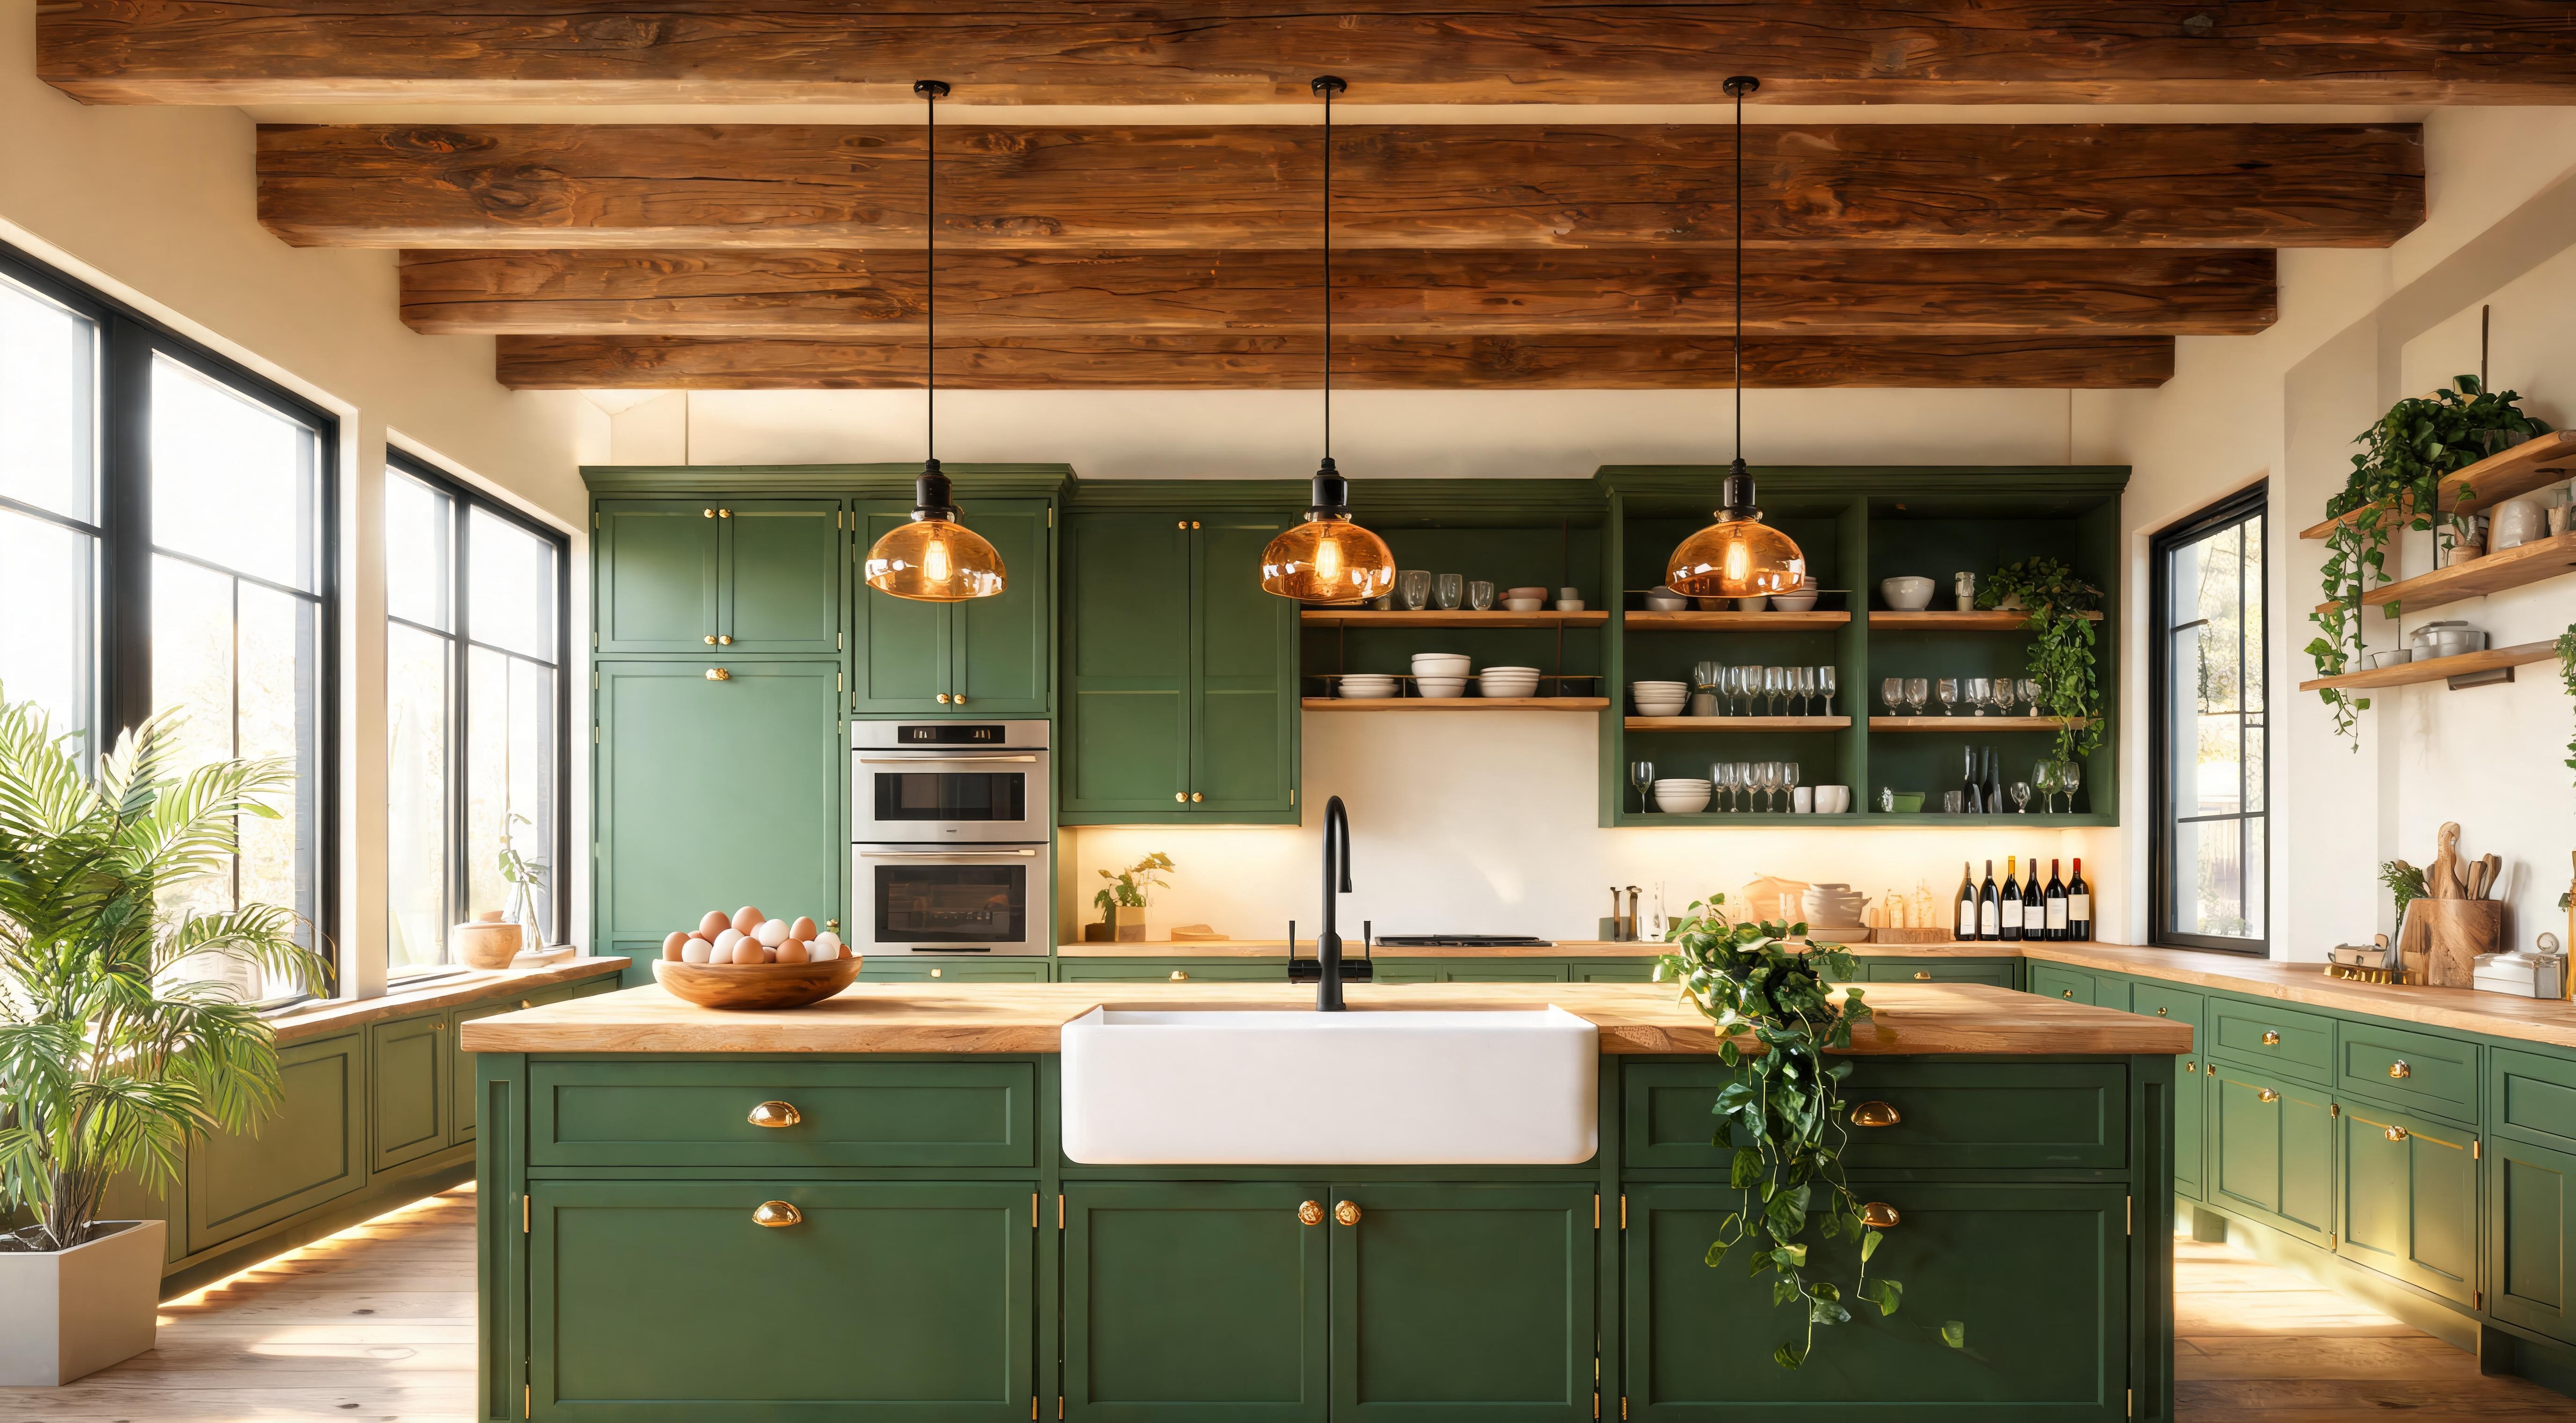
A seating overhang is the most functional addition to a kitchen island — it creates an informal eating and working surface that draws people into the kitchen without putting them in the cook’s way. The dimensions of the overhang are the detail most people discover they got wrong after the island is built.
The number of people the overhang can seat depends entirely on its length. Allow 60cm per person as the absolute minimum — 70cm for genuine comfort. A 120cm overhang seats two people with their elbows touching; 140cm gives the same two people space to eat without negotiating. For a family of four to sit at the island, you need at least 240cm of overhang length, which typically means a large open-plan kitchen.
Storage Underneath
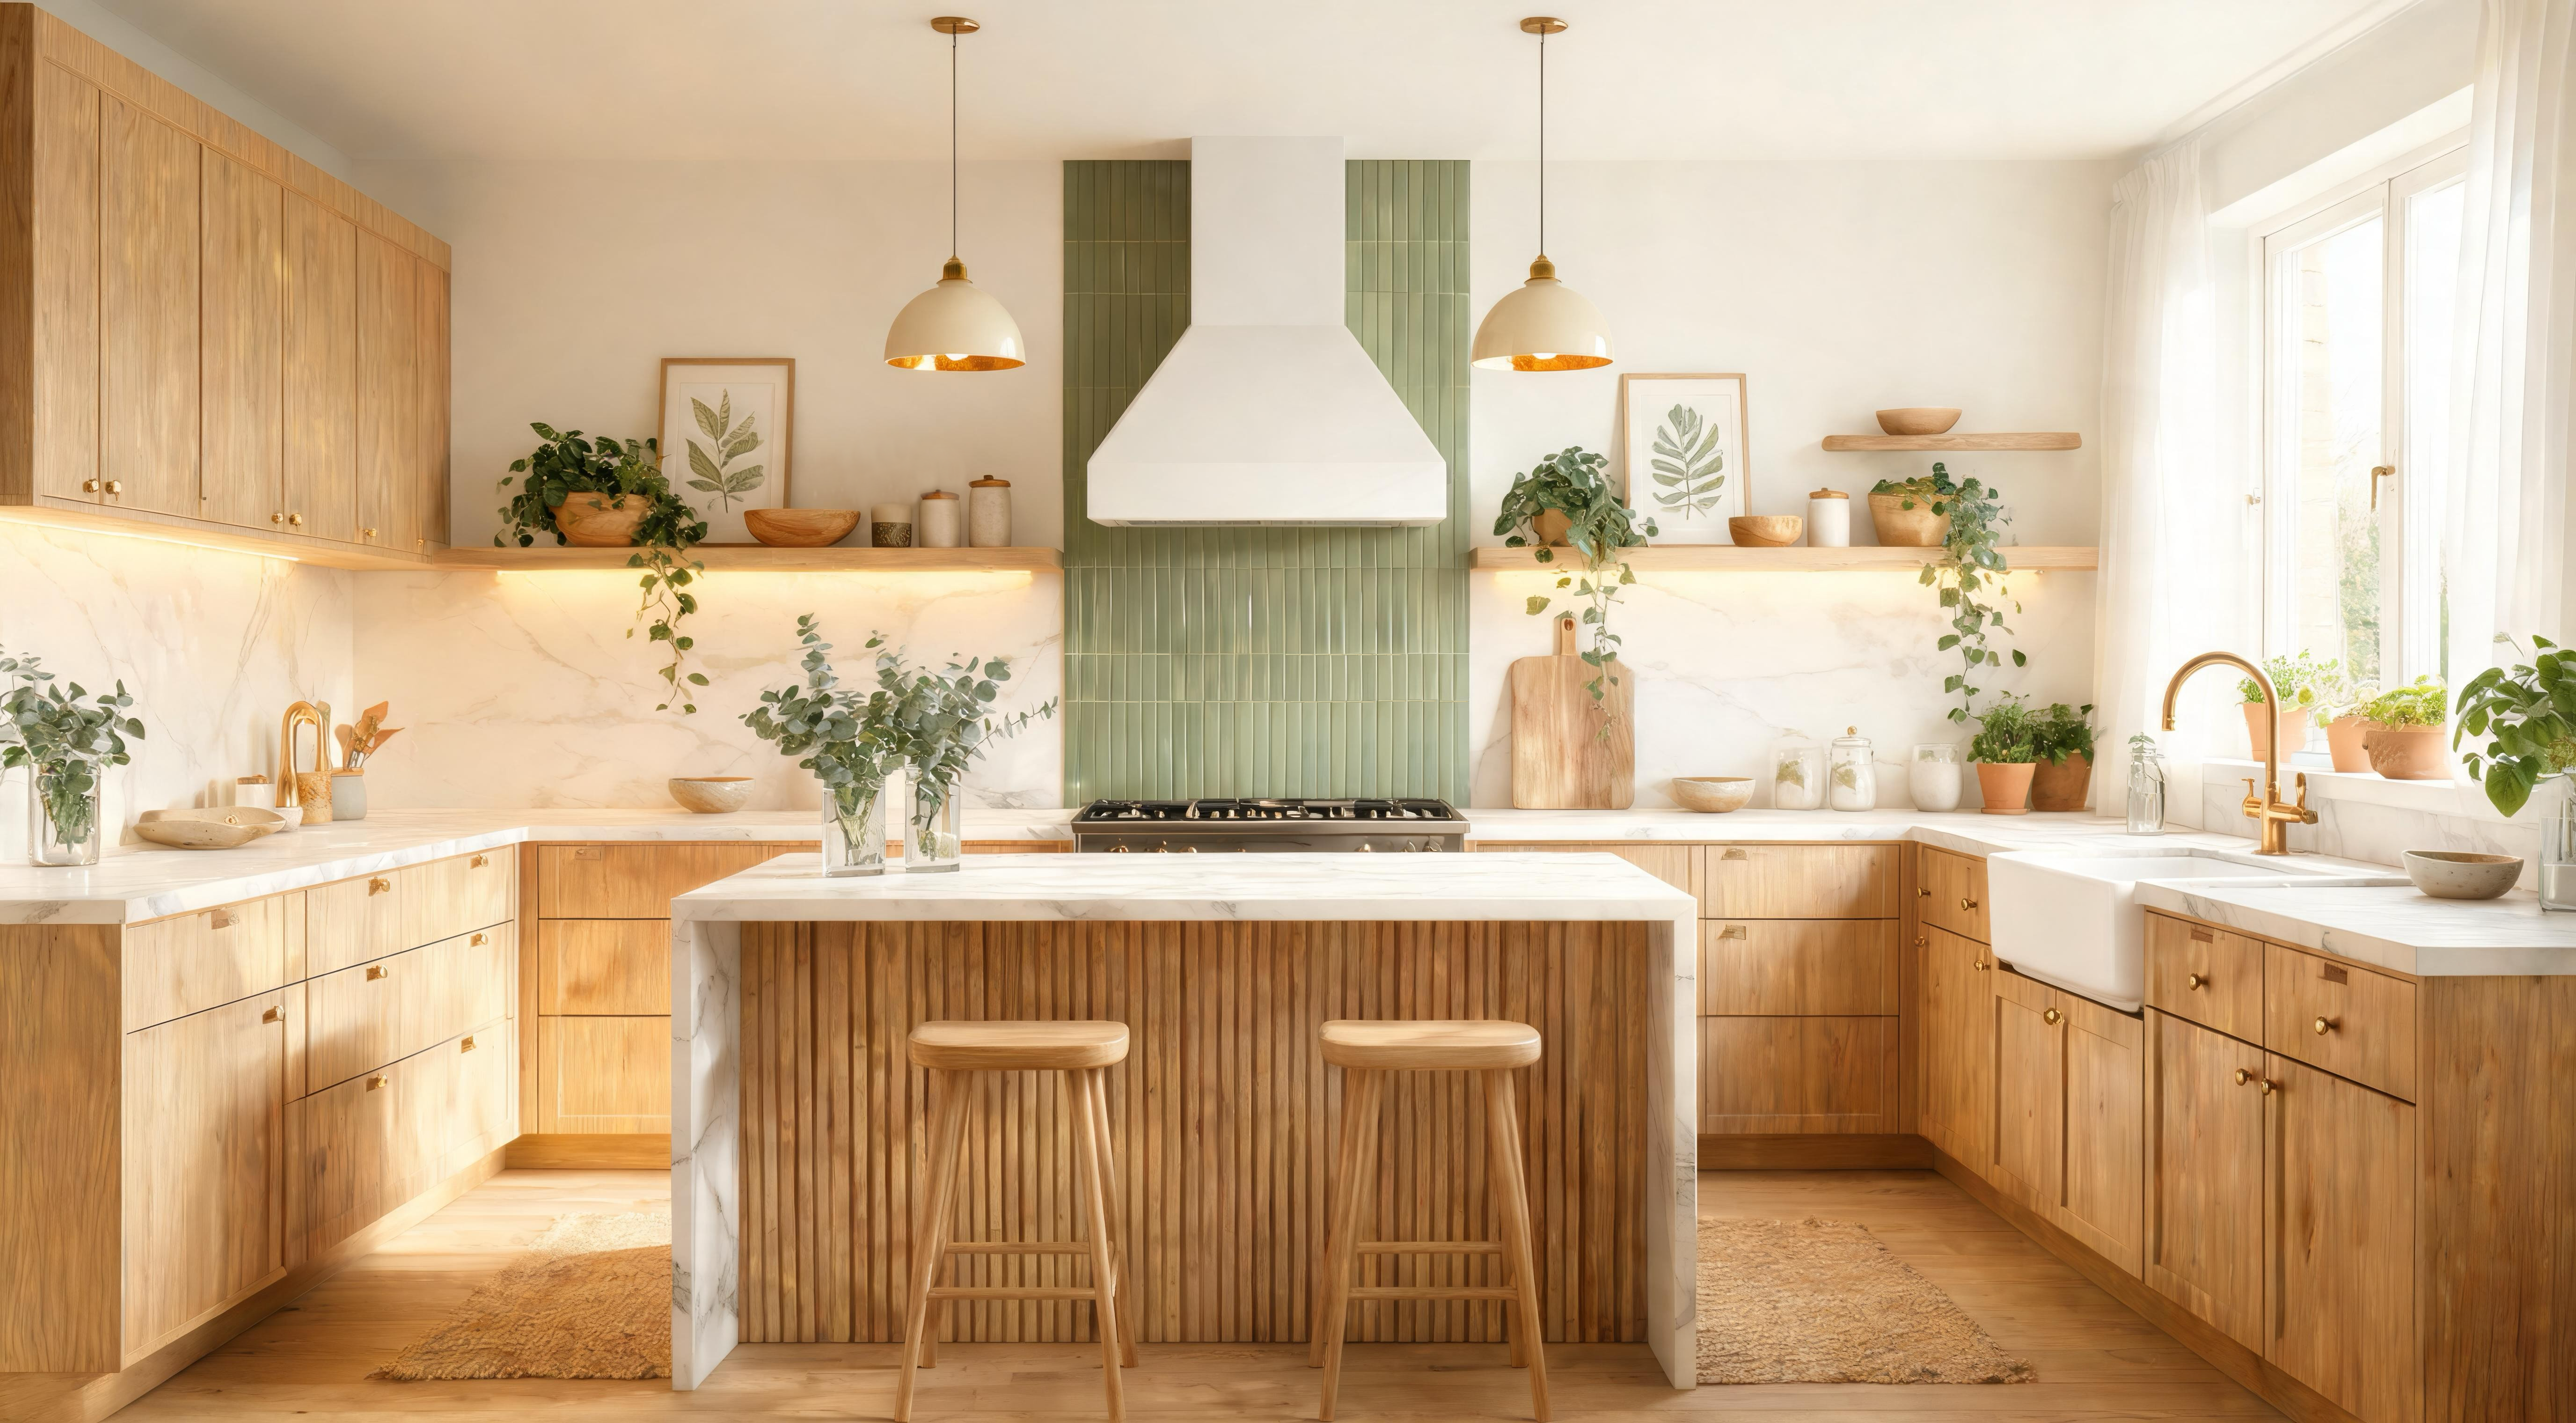
The base of a built-in kitchen island is where the real functional difference from a freestanding unit is felt. When specifying a built-in island, the base options are: full-height drawers, doors with shelving behind, pull-out drawers behind a door face, or a combination across different zones.
Deep drawers — three drawers stacked vertically, each 15 to 25cm tall — are the most functional island base option for kitchen equipment. They are accessible from any angle without bending and reaching into a dark cupboard, can be internally organised with dividers, and reveal their full contents at a glance. A three-drawer stack on the non-seating side of an island houses more practically usable storage than the equivalent cupboard in the main unit run.
The seating side of the island — where the worktop overhangs and stools tuck underneath — cannot have full-height base units. The standard solution is a recessed kick plate area that protects the base from chair legs and shoes. Some islands incorporate an open lower shelf on the seating side: accessible storage for cookbooks, a wine rack, or baskets, which maintains the visual openness the overhang creates rather than closing it off with solid cabinetry.
The Contrasting Island Colour
The single most significant UK kitchen trend of the last three years is the contrasting island. A kitchen where the run of units is one colour and the island is a deliberately different, usually darker or bolder colour is now more common in UK kitchen showrooms than a matching all-white or all-grey specification.
The contrast works because the island is a different kind of object to the run of units. The units are fixed architecture; the island is furniture. Treating them the same — painting them the same colour — makes the kitchen read as a continuous run of cabinetry rather than a kitchen with a designed focal point.
One rule for the contrasting island: the island colour should appear somewhere else in the room at least once. A navy island with a navy pendant above it and navy on the tap fittings reads as considered. A navy island standing alone in a white kitchen reads as an error — even when it technically is not. The contrast works because it is echoed, not because it stands apart.
Worktop and Lighting: The Finishing Decisions
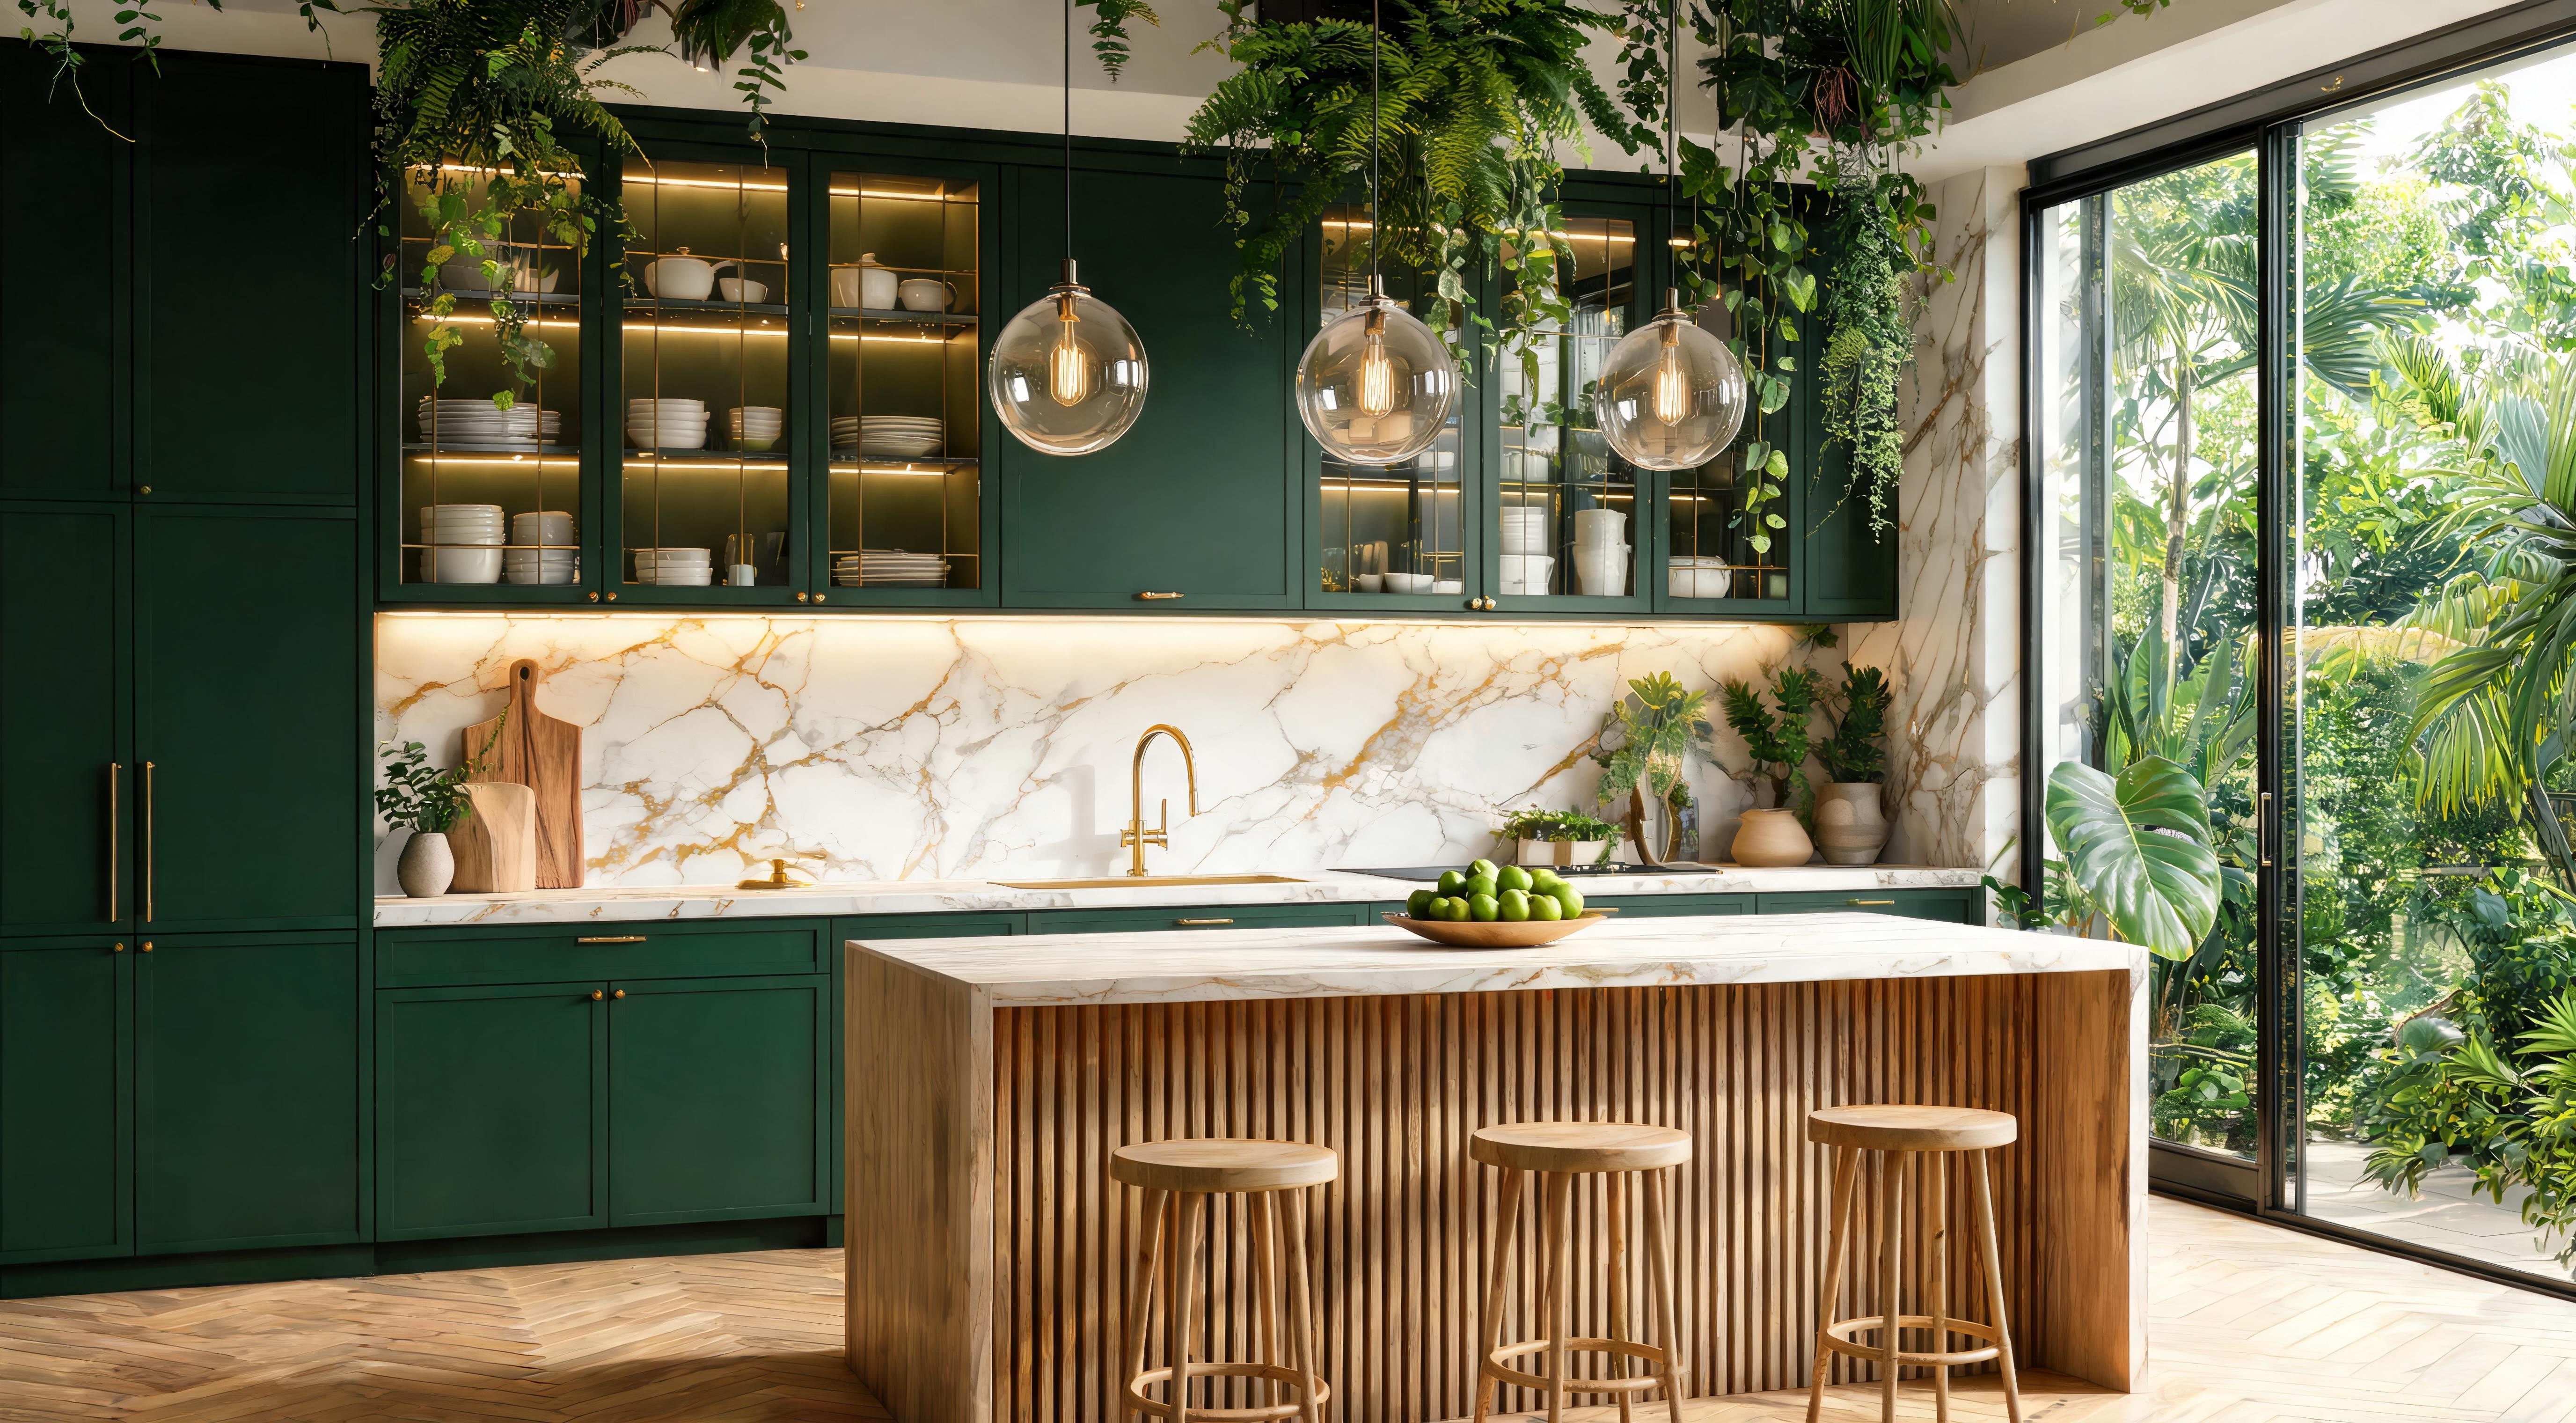
The island worktop does not need to match the run of units — and in many kitchens the best choice is a different material entirely. If the main kitchen run uses a practical worktop — quartz, porcelain, or laminate — the island is the opportunity to use the material you actually wanted. A marble or quartzite island in a kitchen with quartz everywhere else gives you the stone aesthetic at a fraction of the cost of doing the whole kitchen in stone. A solid wood worktop on an island adds the warm material most kitchens need without the maintenance concern of wood on a hard-used cooking and washing surface.
A waterfall worktop — where the material wraps over the top and continues down one or both sides in a continuous piece — is the most expensive and the most architectural option. It works best with stone or a solid material that can be mitred convincingly at the corner. It does not work with laminate or thin quartz.
Pendant lighting above the island is almost always the right choice — and almost always hung too high. The bottom of the pendant shade should sit 70 to 80 centimetres above the worktop. At this height the light functions as task lighting and the pendant is prominent enough in the visual field to define the island zone. Hung higher than this, pendants become decorative ceiling features that cast light across the kitchen rather than onto the surface below.
For island length: one pendant works up to 100cm, two pendants up to 180cm, three for longer runs. Centre them over the island width — not over the seating overhang specifically, but over the whole island as a single object.
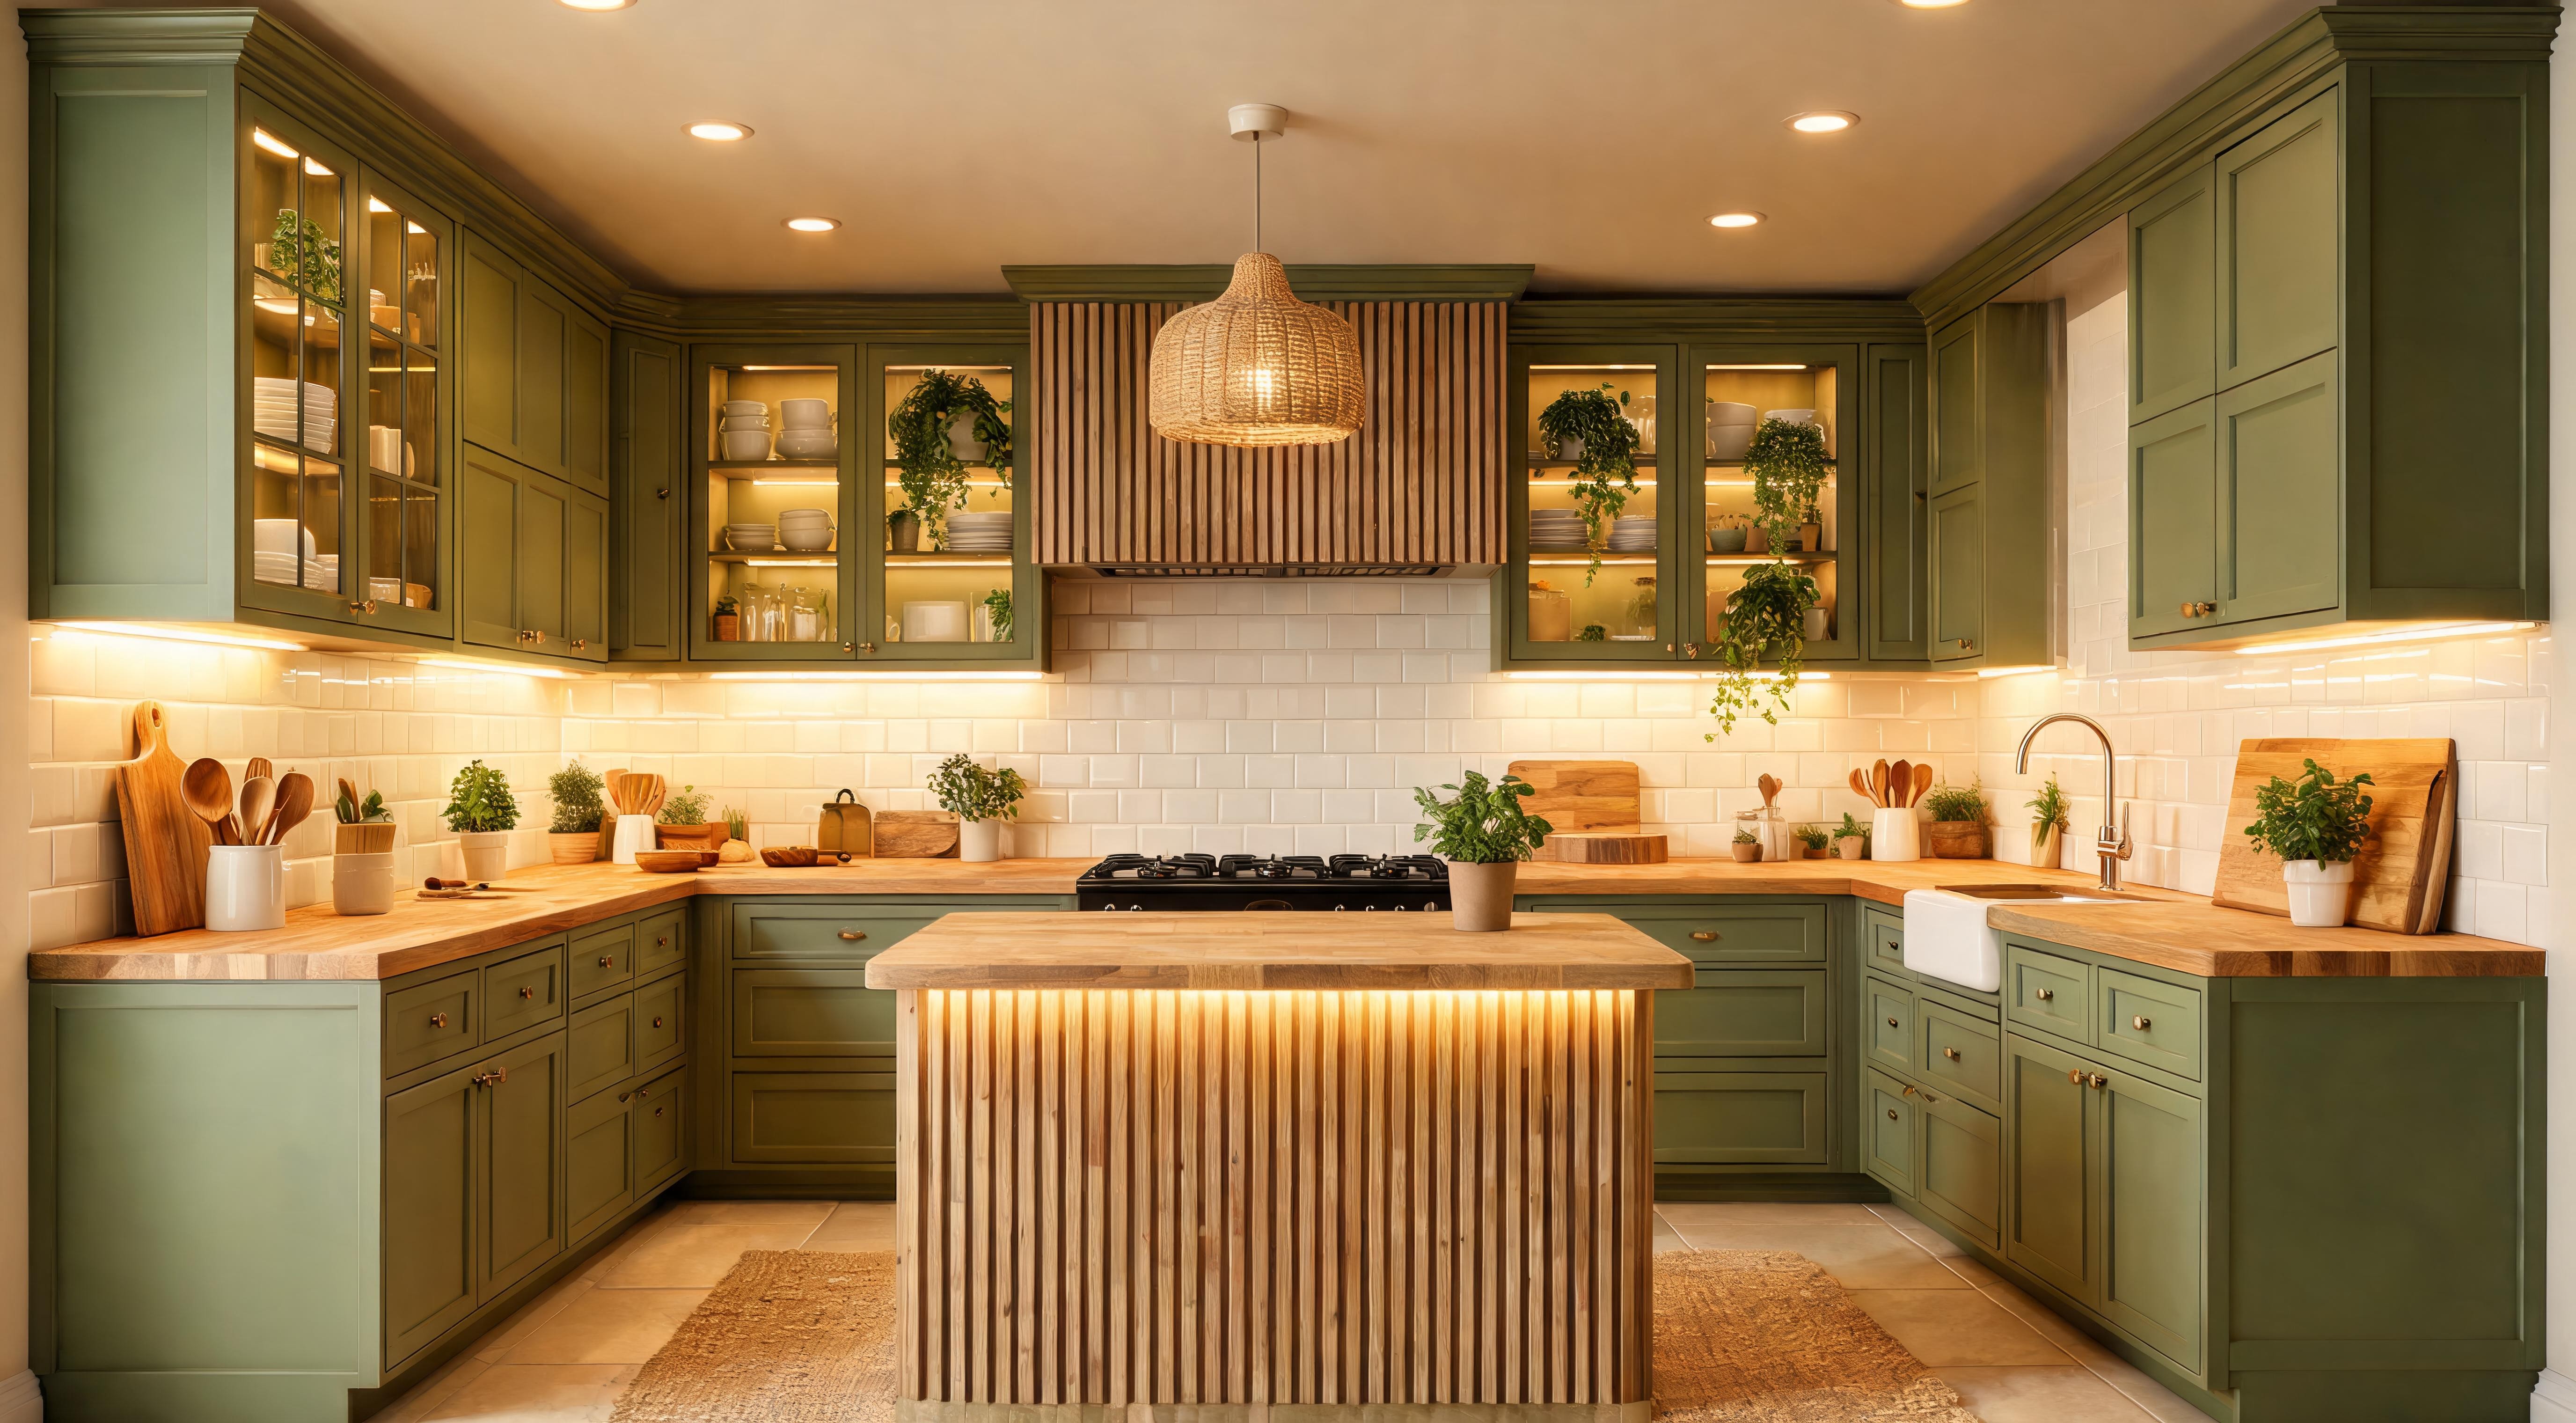
A kitchen island done well is not a luxury. It is the working heart of the kitchen — more sociable, more organised, more considered. A kitchen island done badly is a narrowed walkway with a bit of extra surface that costs several thousand pounds and makes the kitchen feel smaller. The difference is almost entirely in the decisions made before anything is ordered: clearance first, then proportion, then overhang, then storage, then colour. Get those right and the aesthetic takes care of itself.