
Limewash Paint: How to Apply It, Choose the Right Colour, and Make It Look Expensive
What limewash actually is, how the coat build-up works, which surfaces it goes on, how to apply it correctly, and which brands are worth the price in the UK.
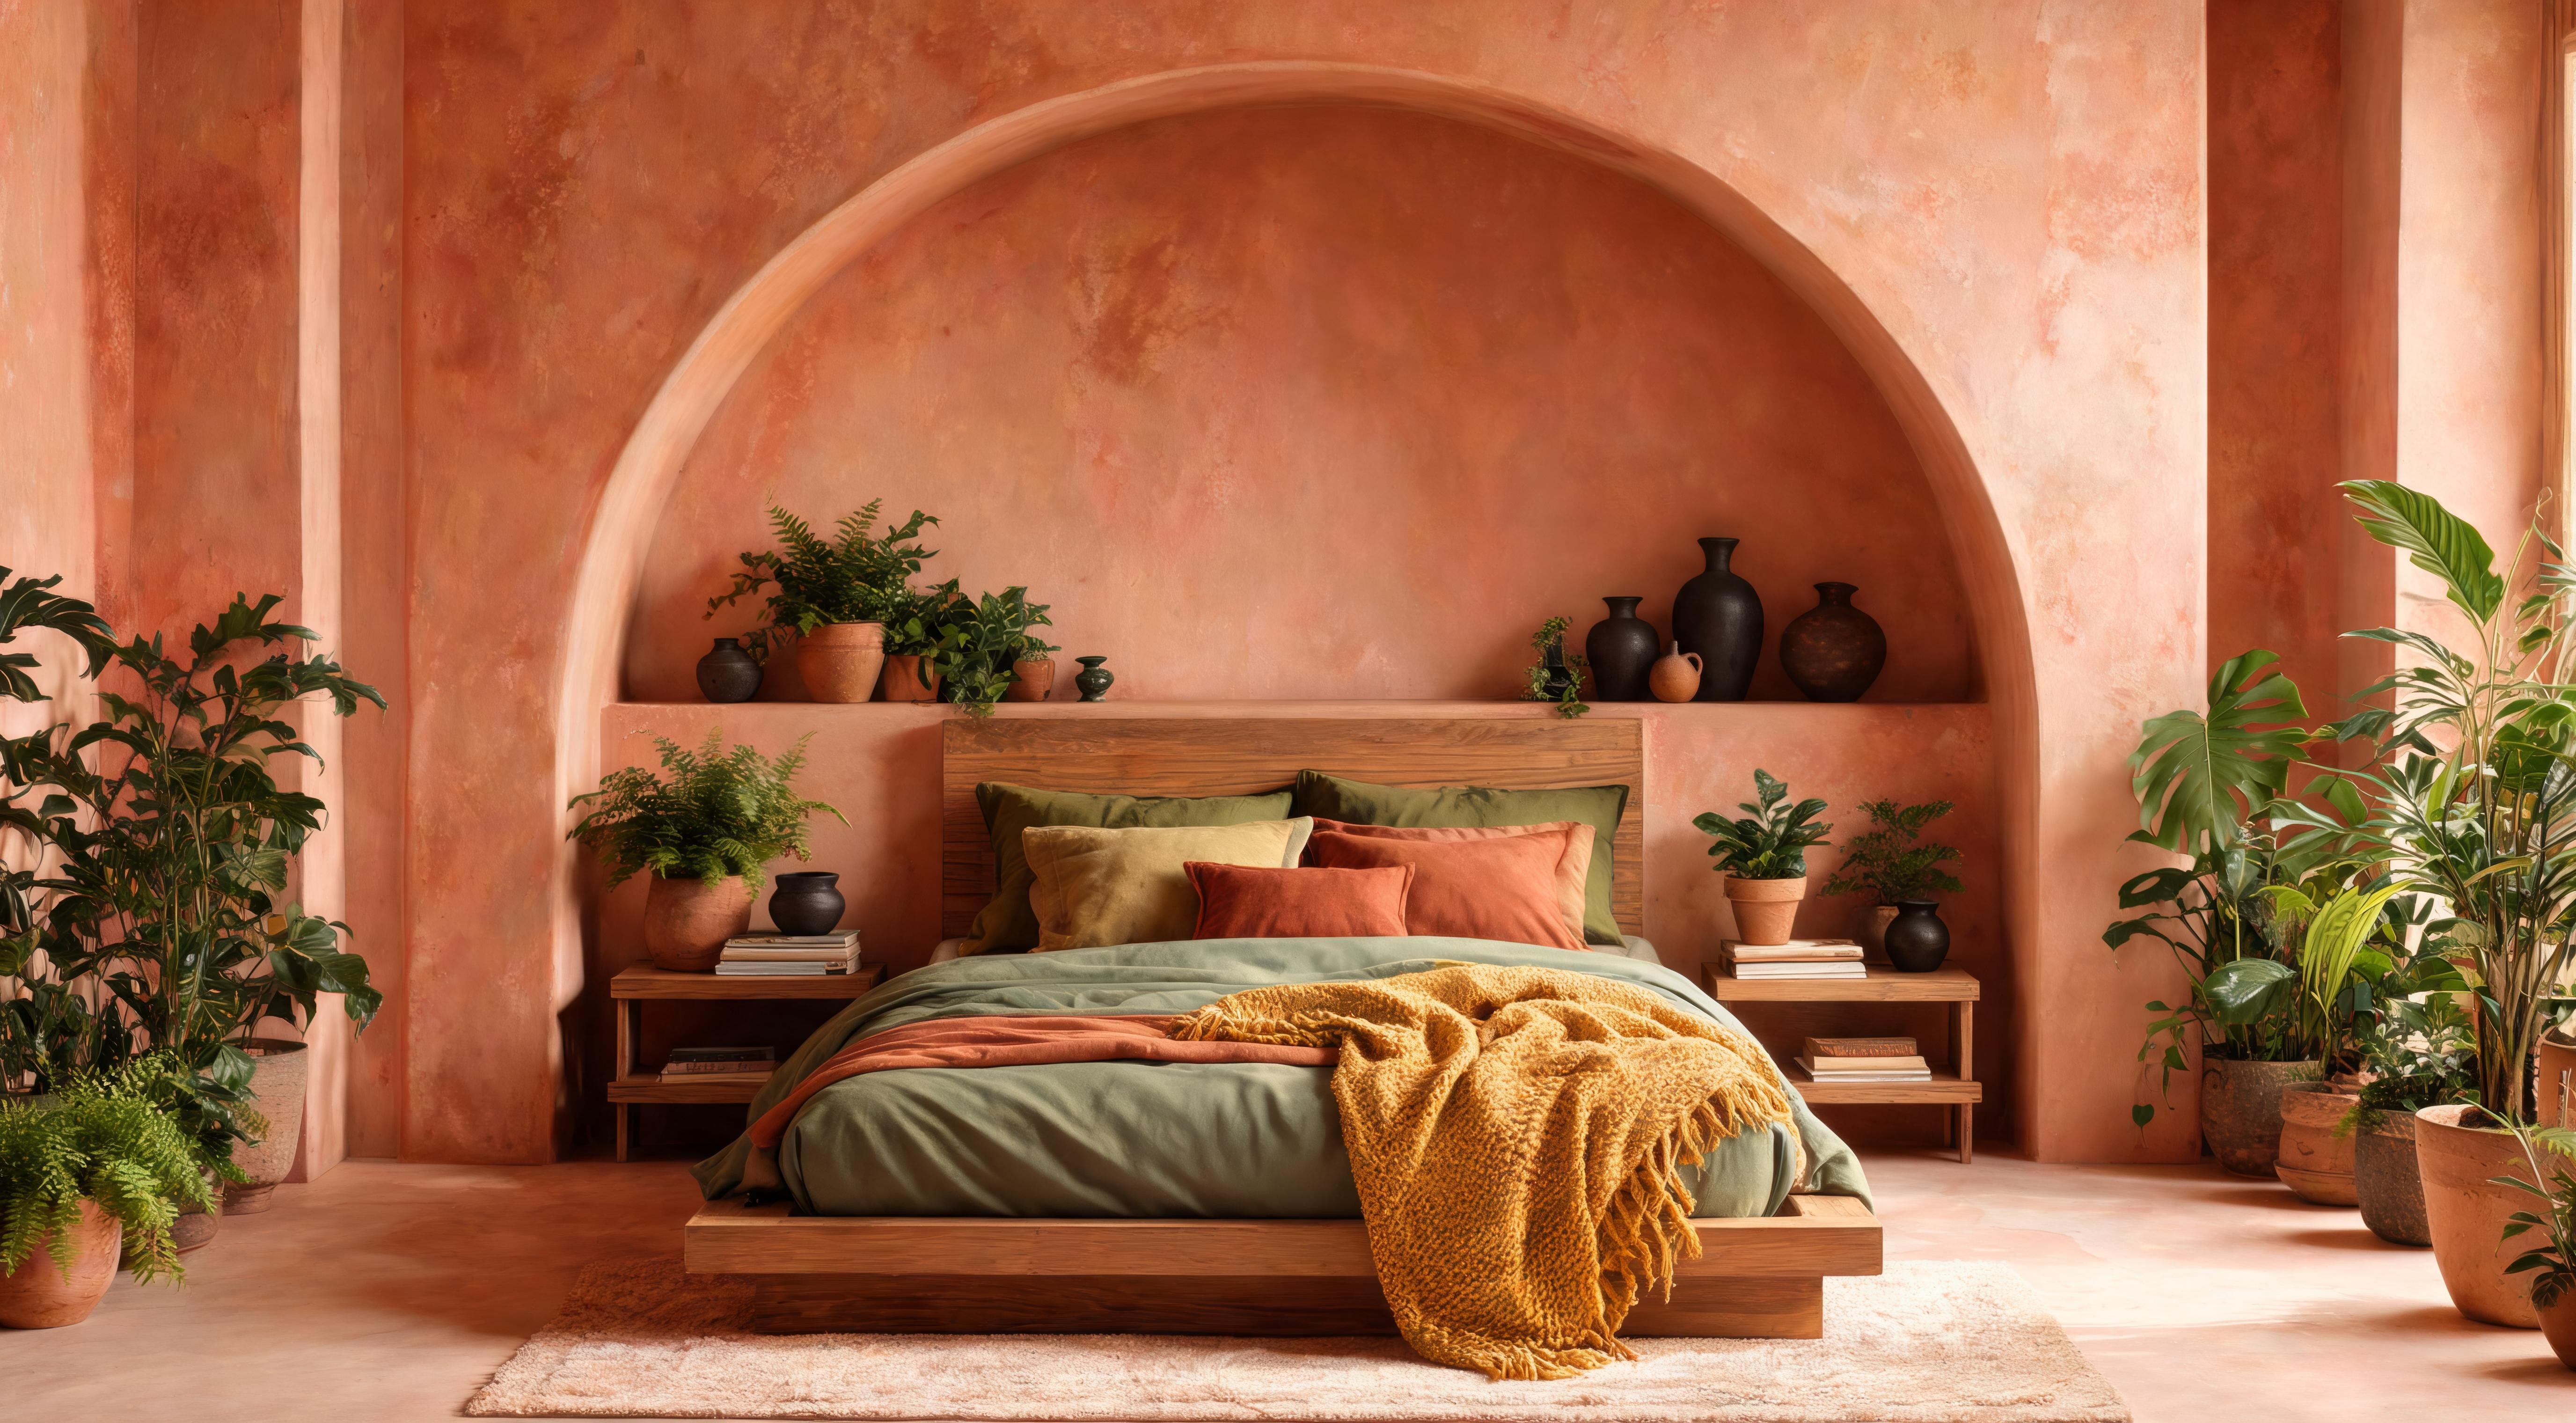
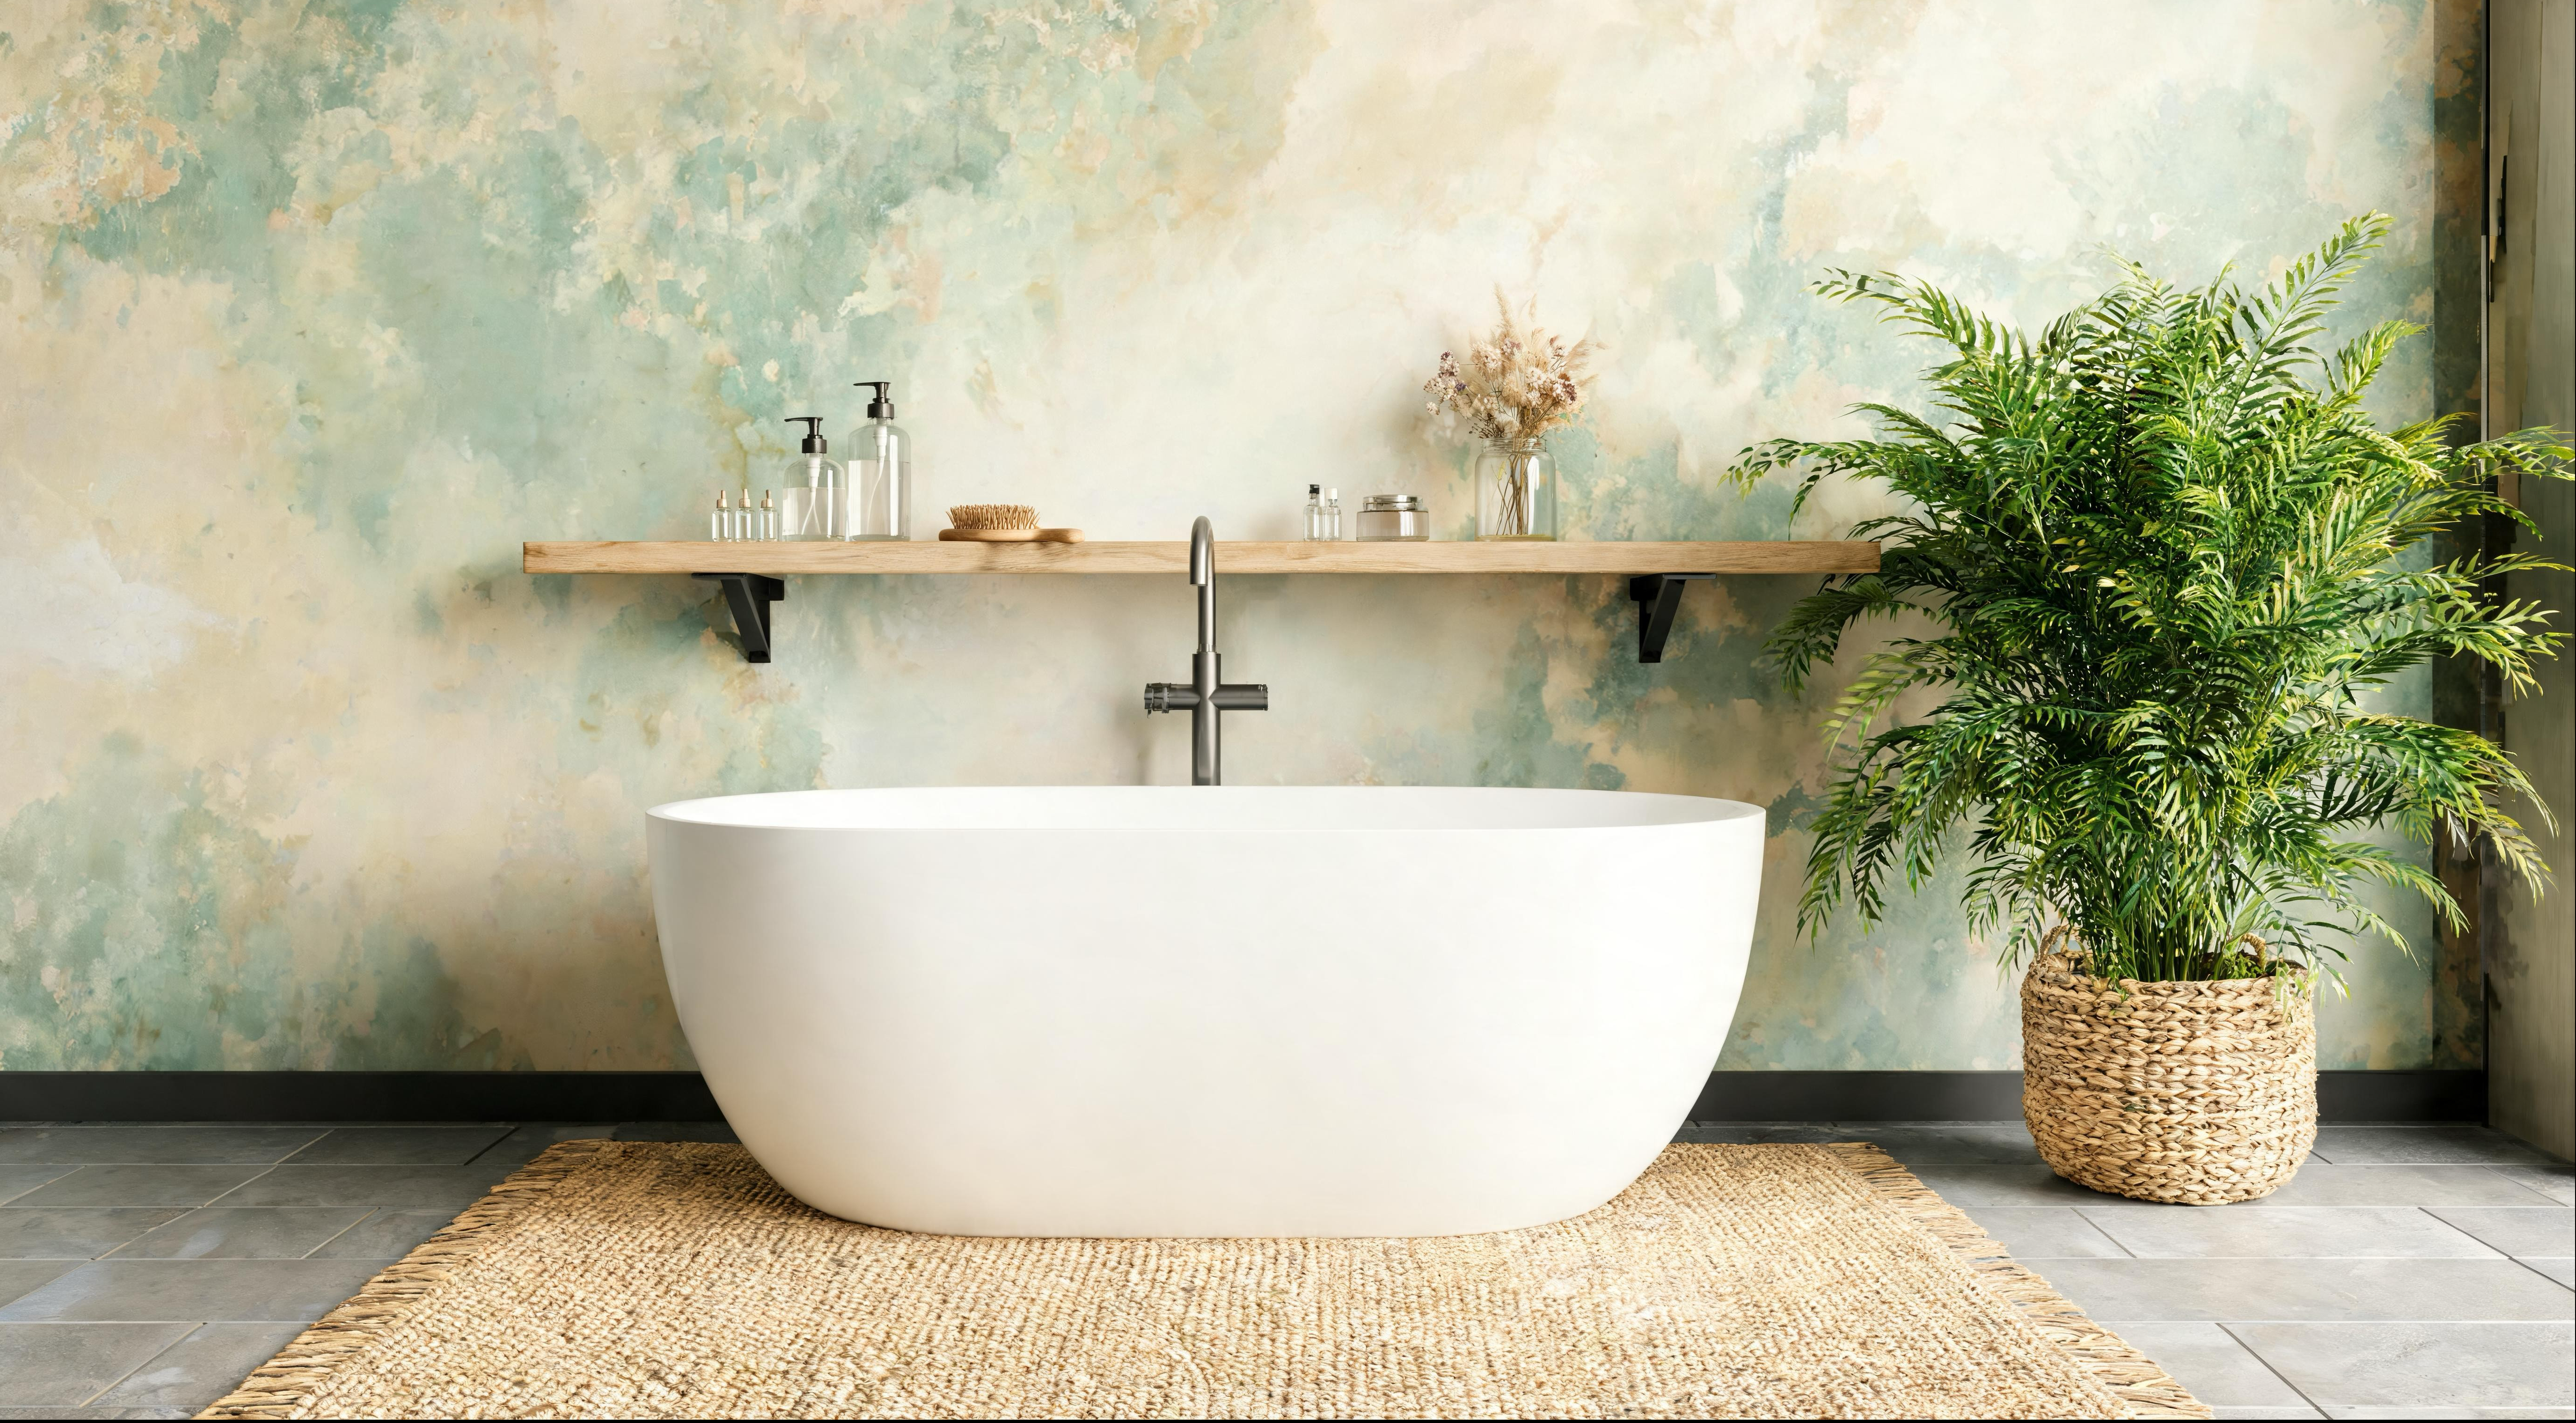
A limewash wall does not look painted. It looks like the wall has always been that colour — aged in, worn in slightly, the kind of surface that absorbs light rather than reflecting it. The texture shifts through the day: flatter in the morning, more alive when afternoon light rakes across it at an angle. None of this happens with regular emulsion. Regular emulsion covers. Limewash reveals — depth, variation, the slight evidence of the hand that applied it. It is the most transformative paint finish available and also the most misunderstood. Most people think it is complicated. It is not. What it requires is understanding why it works the way it does before picking up a brush.
What Limewash Actually Is
Limewash is not chalk paint, not clay paint, not a textured emulsion with added grit. It is lime putty — calcium hydroxide — diluted with water and tinted with natural pigments. The material is ancient. Lime has been used to protect and decorate stone, brick and plaster for thousands of years. The reason it has the particular quality it does is chemical: lime is translucent when applied thinly, not opaque. A single coat of limewash does not cover — it colours. And because it is translucent, each subsequent coat adds depth rather than thickness, in the way that glazing in oil painting builds richness through successive transparent layers.
This is the fundamental difference between limewash and every other wall finish. Emulsion paint sits on the surface of the wall as a film. Limewash becomes part of the wall — it reacts with the carbon dioxide in the air as it dries, carbonating back into calcium carbonate and mineralising into the surface beneath it. On bare plaster or stone, a limewashed wall is not a painted wall. It is a wall with altered chemistry.
The practical result of all this is a finish that no other product replicates convincingly. The variation in depth — the way some areas sit slightly darker, where the brush loaded more material, and others sit lighter, where it was almost dry — is not a flaw in the application. It is the finish. It is what you are buying.
How the Coats Work
The single most important thing to understand about limewash application is that each coat must be assessed when fully dry, not while wet. Limewash dries significantly lighter than it appears when applied — sometimes dramatically so. A coat that looks too dark and too heavy on the wall at midday may look exactly right by the following morning. Never add a coat to correct a result you have not yet seen dry.
Surface Preparation
The wall surface needs to be porous for limewash to work. This is the non-negotiable requirement. Limewash does not bond to sealed surfaces — it needs somewhere to go. On bare plaster this happens naturally; on a previously painted wall the porosity depends on the paint beneath and how many coats have built up over the years. When in doubt, apply a single test patch in an inconspicuous area, let it dry fully overnight, and assess adhesion before committing to the whole wall.
How to Apply It
The brush matters more than most guides acknowledge. A large, wide-bristle brush — 15 to 20cm wide, natural bristle — gives you the ability to work quickly and vary the stroke direction with ease. Synthetic roller applicators exist for limewash but they produce a different finish: more even, less characterful. The slightly irregular result of a brush is not a flaw to be corrected; it is the aesthetic.
Dilute the limewash to a consistency that feels like thin single cream — thin enough to spread easily and run slightly at the edges of the stroke, thick enough to leave visible brush marks. Manufacturers vary in their recommended dilution; start at the thinner end and build up rather than going too thick on the first coat.
Work in sections roughly a metre wide, floor to ceiling. The crosshatch stroke is the technique: apply paint diagonally in one direction, then cross over it in the opposite direction before the first strokes dry. The overlap of wet over wet creates the blended, cloudy depth. If the first strokes dry before you can cross them, the result will be streaky rather than diffused. Work quickly, keep the wall damp if needed, and do not go back over sections you have already completed — the drag marks from re-working dry limewash are very visible.
Watch out for
Applying limewash in direct sunlight or onto a warm wall. Heat accelerates drying so dramatically that the surface carbonates before the wet crosshatch can blend — you get a striped wall rather than a cloudy one. Apply in the morning on a north-facing wall, or in the evening. If your room gets direct sun, close the blinds while you work.
Choosing Your Colour
Limewash colour behaves differently to emulsion colour. Because each coat is translucent and the final finish is slightly irregular by nature, the colour you see on a chip card or in a tin is not the colour you will end up with. The finish pulls slightly warmer and slightly lighter than the pigment reads in isolation, because the underlying wall and the texture of the surface both affect the final reading.
The general principle for colour choice: warm tones are more forgiving in UK light conditions, which tend toward grey and flat for much of the year. A terracotta or wheat limewash reads as intentionally warm even in a north-facing room. Cool tones — particularly dusty blue and muted green — require good natural light to look their best; in a poorly lit room they can pull grey and flat in a way that loses the warmth that makes limewash appealing in the first place. Order a tester pot, apply it to the actual wall as a two-coat test, and assess at different times of day before committing.

Brands and Cost
For a first limewash project, Earthborn is the most sensible starting point — widely available, well-documented, and forgiving to apply. Bauwerk is worth the premium when the colour range matters and you want a finish that is noticeably more translucent and mineral. The own-mix route produces the most authentic result and costs almost nothing, but the variables involved — lime maturation, pigment stability, dilution consistency — make it a project in itself.
Where to Use It
The most effective use of limewash is a single feature wall. Not because limewash cannot cover a whole room — it can, and whole-room limewash looks extraordinary — but because a single limewash wall in an otherwise plainly painted room gives the texture something to play against. The contrast between the cloudy, varied surface and a flat emulsion wall emphasises both.
The rooms where limewash works hardest are the ones with strong natural light. A south or west-facing living room wall, a bedroom feature wall that catches morning light, a fireplace breast in a room with good ambient light — these are the best uses. The finish is less effective in rooms where natural light is consistently flat or absent. The cloudy depth of limewash is most visible when light rakes across the surface from the side; under direct overhead lighting the texture reads considerably flatter.
Watch out for
Limewashing a wall that receives a lot of direct touching — in a hallway at chair-rail height, beside a doorway, at the bottom of a staircase. Unsealed limewash marks from contact: a hand resting against the wall, a bag knocking the corner repeatedly. Seal these areas with a diluted lime-compatible matt varnish or accept that the marks will become part of the patina.
Sealing — When and When Not To
Traditional limewash is not sealed. The whole point of the material is that it breathes — lime walls regulate humidity by absorbing and releasing moisture, which is why old buildings with lime plaster stayed dry before the era of damp-proof courses. Sealing limewash with a conventional varnish stops this process and can trap moisture in older walls.
In a modern new-build or recently replastered room, sealing has fewer consequences and may be worth doing in high-traffic areas for durability. Use a lime-compatible breathable sealer only — not an acrylic or PVA-based product. In a bedroom or living room that is not subject to constant contact, leaving limewash unsealed is the better choice. The finish stays slightly chalky to the touch, will show marks in heavy-use areas, and will deepen very slightly in colour over the first year as it continues to carbonate — all of which are part of the material’s character, not problems to be solved.
What Kills the Effect
The most common limewash failure is impatience between coats. The finish needs to be fully dry — not surface-dry — before a second coat goes on. Surface-dry limewash feels firm to the touch but may still be damp beneath. Applying a second coat over a still-damp first coat lifts the first coat, creates dragging and peeling, and produces a blotchy finish that cannot be repaired without stripping and starting again. Wait a minimum of four hours between coats in warm, ventilated conditions. In a cool or poorly ventilated room, wait overnight.
The second failure point is trying to make it look even. If you are applying limewash and thinking about how to eliminate the variation — working over areas again to blend them, trying to achieve a smooth, consistent colour — you are fighting the material rather than working with it. The variation is not a problem to correct. The best limewash results come from accepting the imperfection of each coat and trusting that the build-up will resolve into depth rather than evenness.
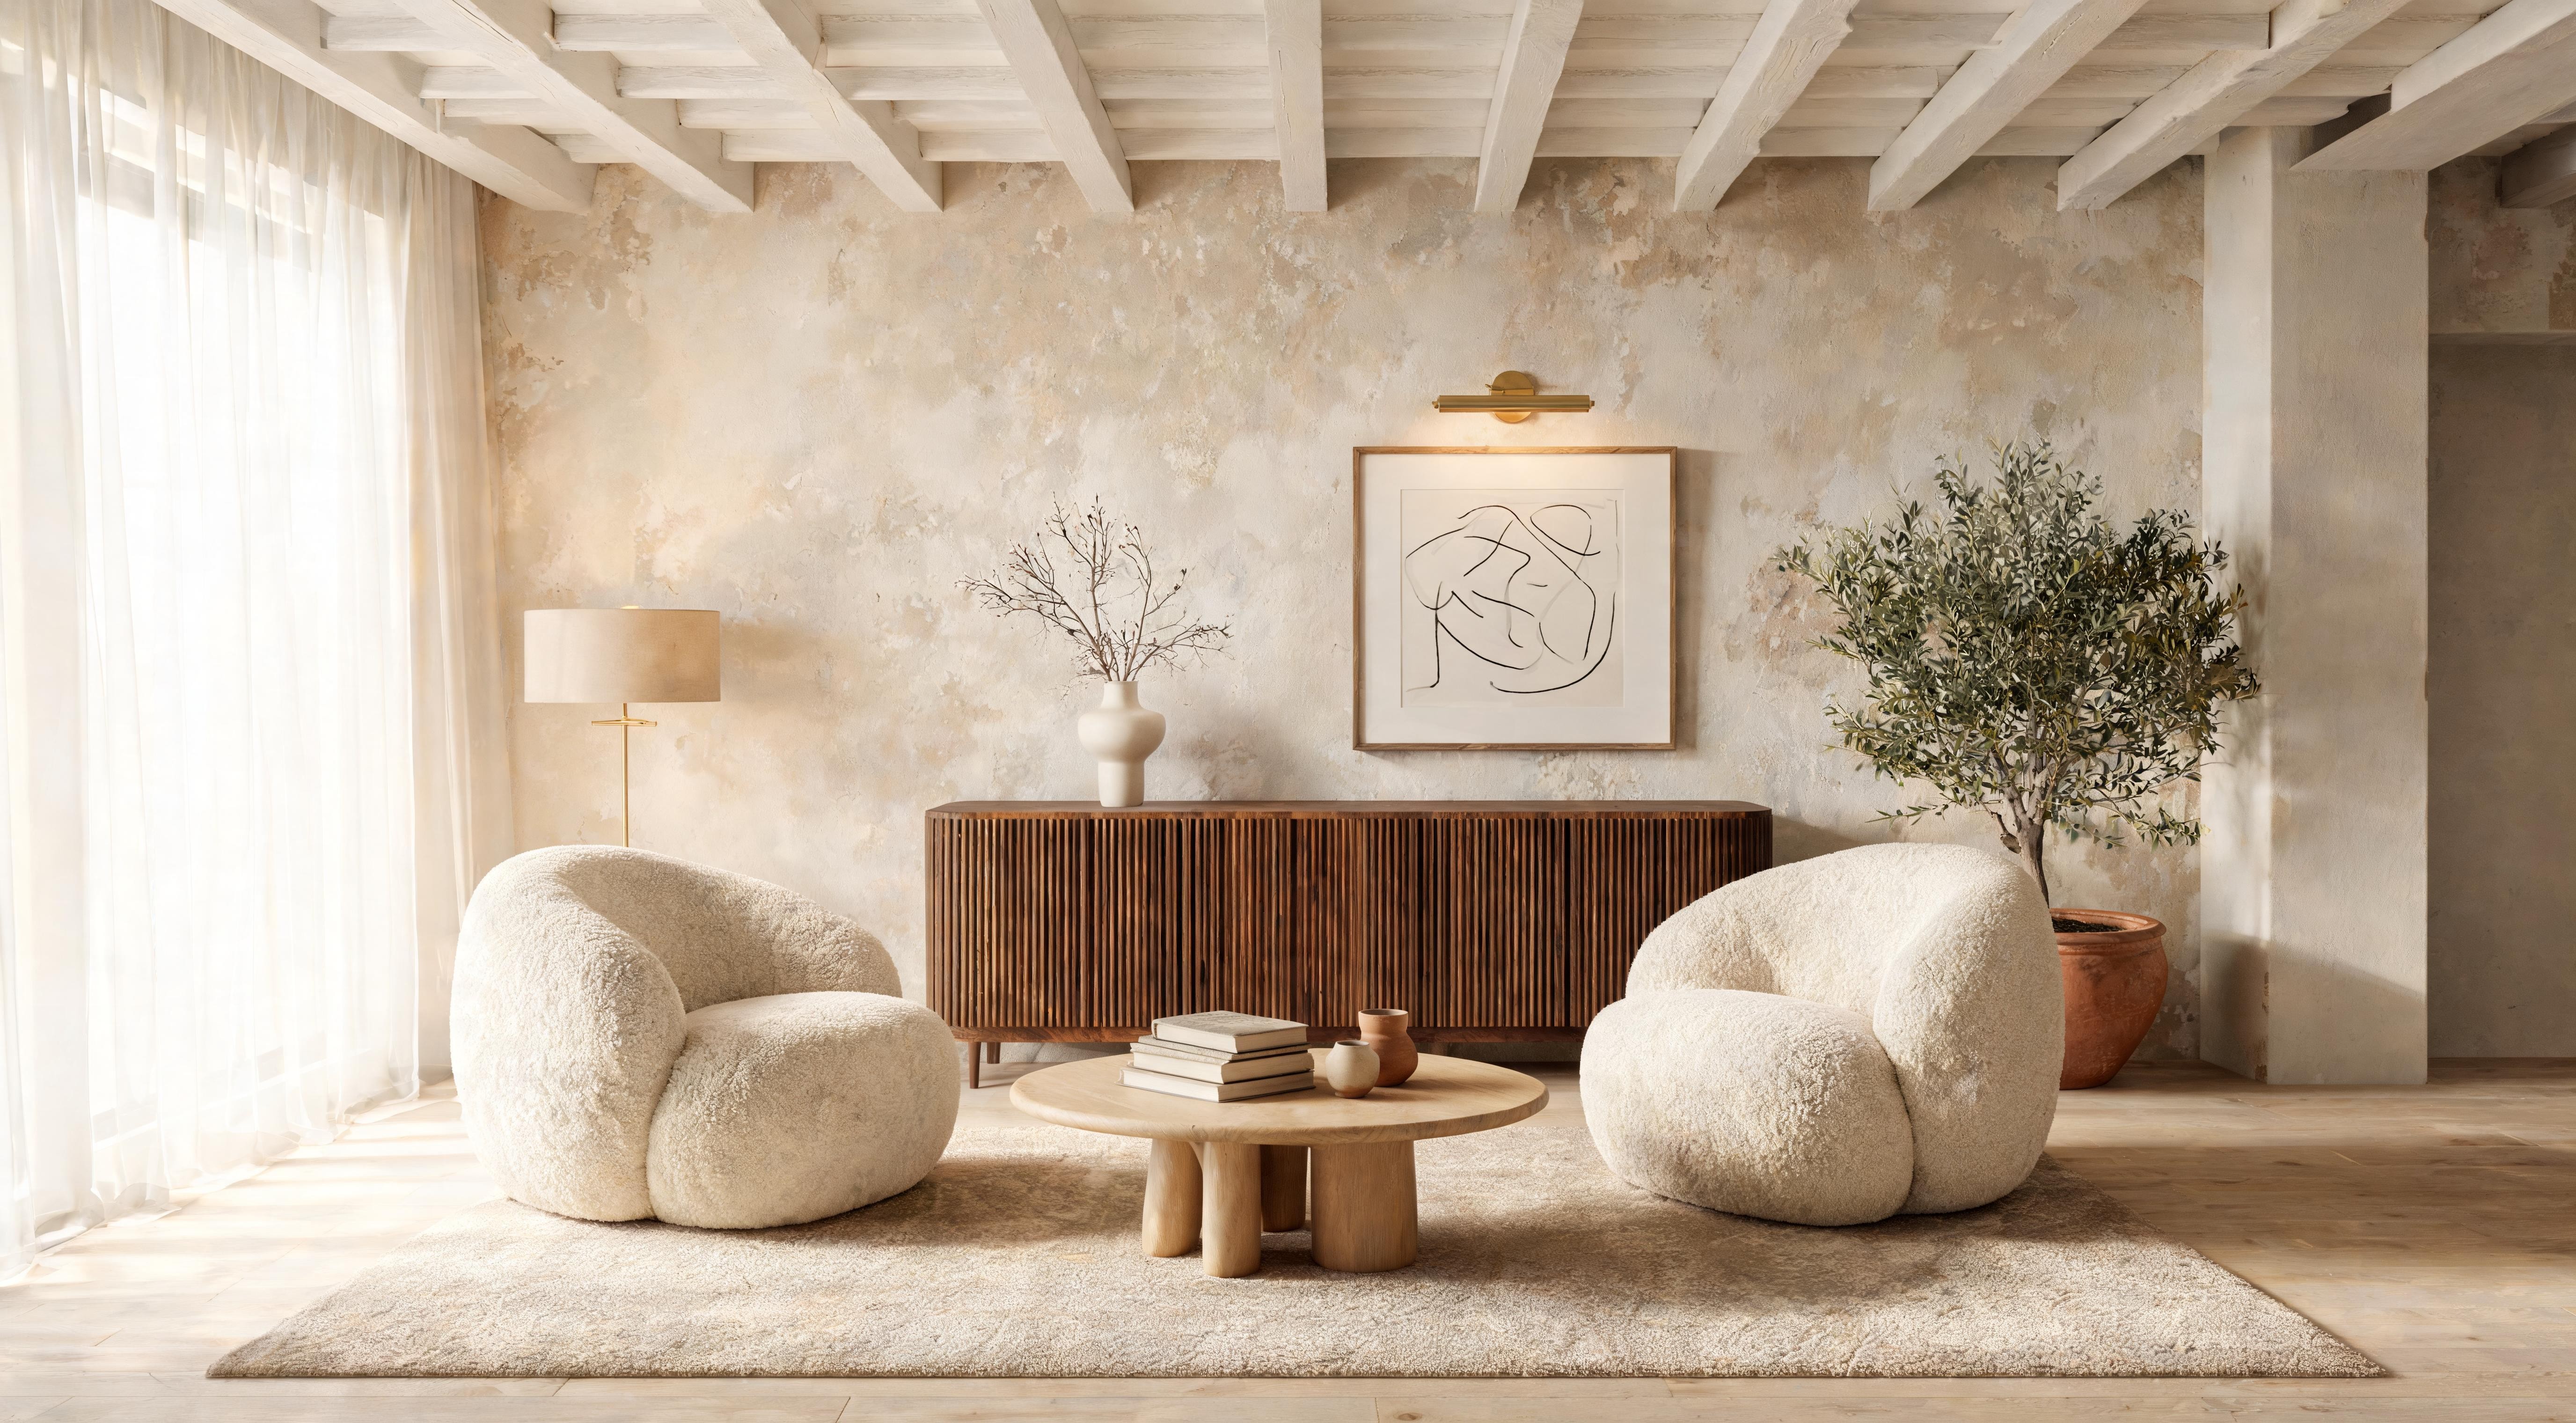
Limewash is the simplest explanation for why some rooms feel considered and others just feel painted. It is not expensive to achieve — a feature wall in Earthborn costs under €60 in materials and an afternoon to apply. What it costs is the willingness to work with a material that does not behave like conventional paint, to assess the result dry rather than wet, and to leave variation alone rather than correct it. Do those things and the wall will look like it has always been there.